Navigating through a myMSI Project
The Projects feature of myMSI allows you to create, manage, monitor, and control your projects. This will include project details, project team, planning, scope, new integrations, contractors, and additional attachments.
Accessing Projects
To access Projects, click the "Projects" tab at the left navigation bar. From there you can see the list of all projects and add a new one.
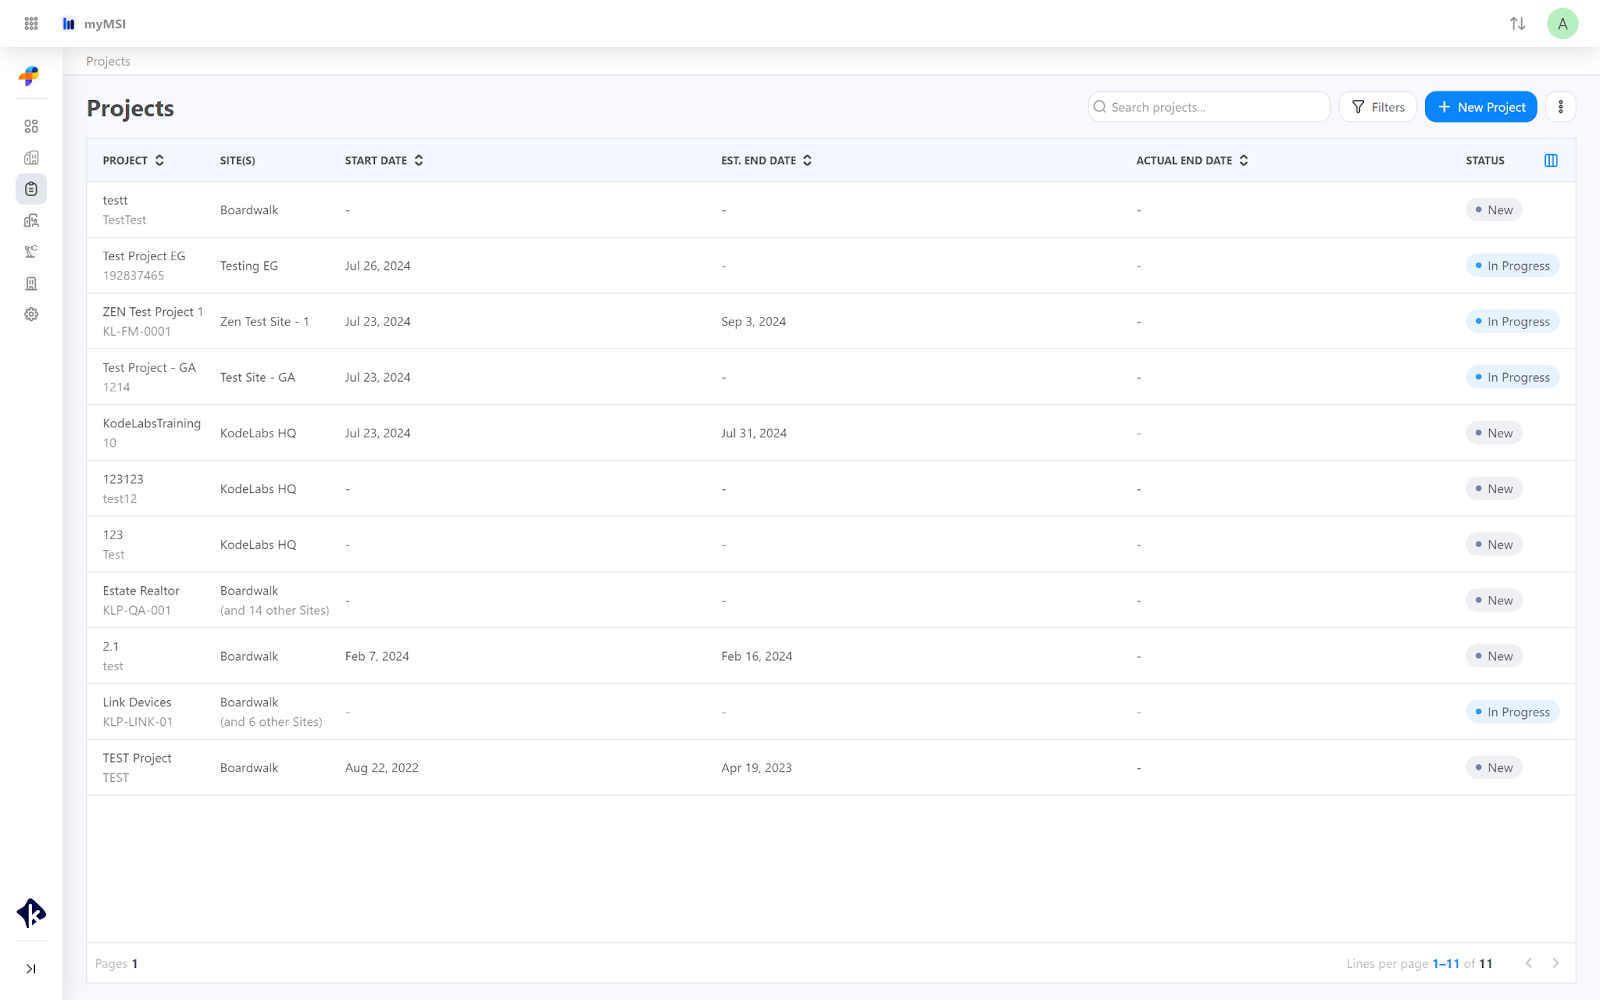
You can search for a project by typing project details in the "Search for Projects" field.
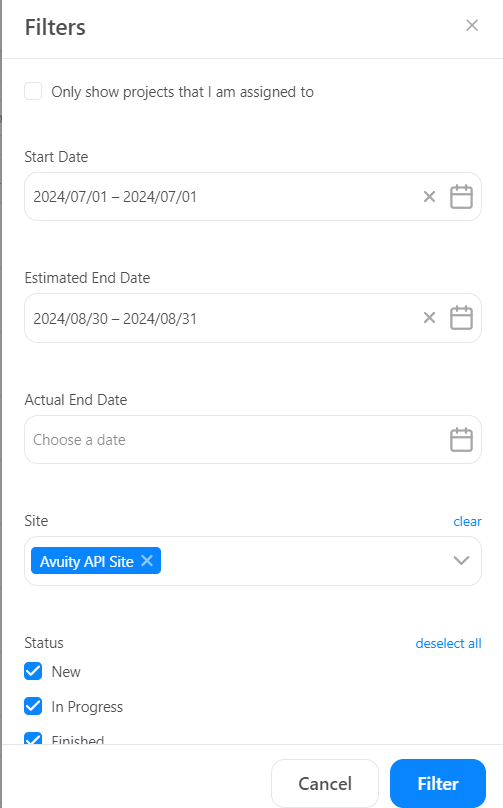
Click on the Filter button to filter projects by date range, site, client, and status.
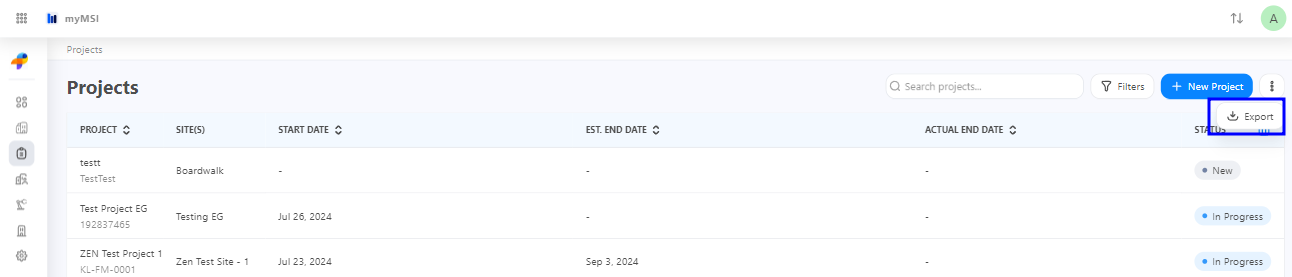
To download the Excel file of the projects list on your computer, click the Export button.
Adding a new project
To add a new project follow the below steps:
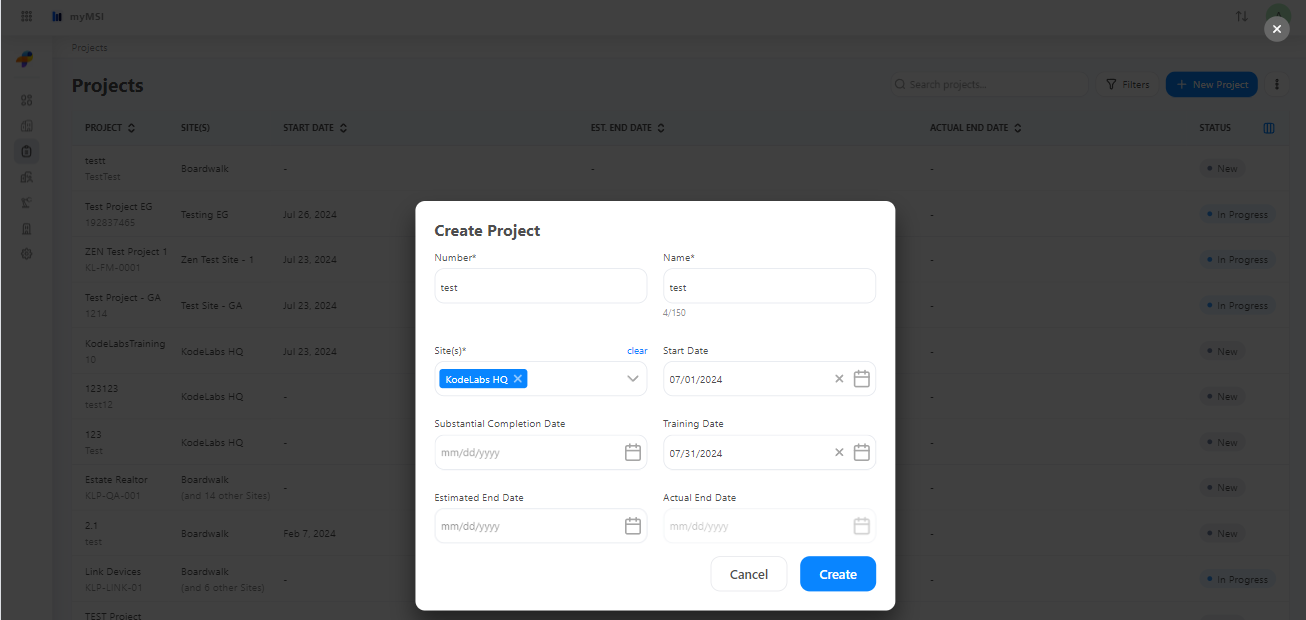
Click on the “New Project” button on the right-hand corner of your screen. It will open up a page from where you can put all project details:
The number of the projects that KODE assigns as identification once the project is taken over.
Project Name.
Select Client (if applicable).
Select Site(s).
Select the Start Date, Bid Due Date, Substantial Completion Date, Training Date, and Estimated End Date.
Click on “Create” and now you have created a new project which will be visible on the list view of projects.
Navigating into Existing Project
Once you select a Project you will be directed to the main Project Configuration page that includes:
Related Articles
Navigating to myMSI dashboard
The initial section presented in the myMSI environment is the "Dashboard”. Upon entering, you will have access to the project information. Project Status A circular graphic provides insights into the current standing of the project, describing areas ...Exploring myMSI
Managing projects and organizational tasks requires a structured approach, and myMSI offers a design to simplify complex workflows. This article dives into each component of the myMSI, highlighting their functionalities and benefits for effective ...Navigating to the Sites Menu
The Sites Menu is where you can overview details on a property basis. It is here that you will be able to view and interact with: Location & Address of the Property Floors and Areas within the building Team members assigned to that site Systems ...myMSI Glossary
This glossary provides definitions of common terms and features you'll encounter while using myMSI, designed to streamline your project and organizational management workflows. A | B | C | D | E | F | G | H | I | J | K | L | M | N | O | P | Q | R | S ...Navigating to Admin Panel
The goal of the Admin Panel is to show your Project details. From here you can see System and Device Types for Subcontractors, Communication Protocols, and you can add Task Templates, and Custom Fields. Click on the profile icon to navigate to the ...