Contractors Page
Assign Contractors to Projects
Click on the “Assign Contractor” button on the top right.
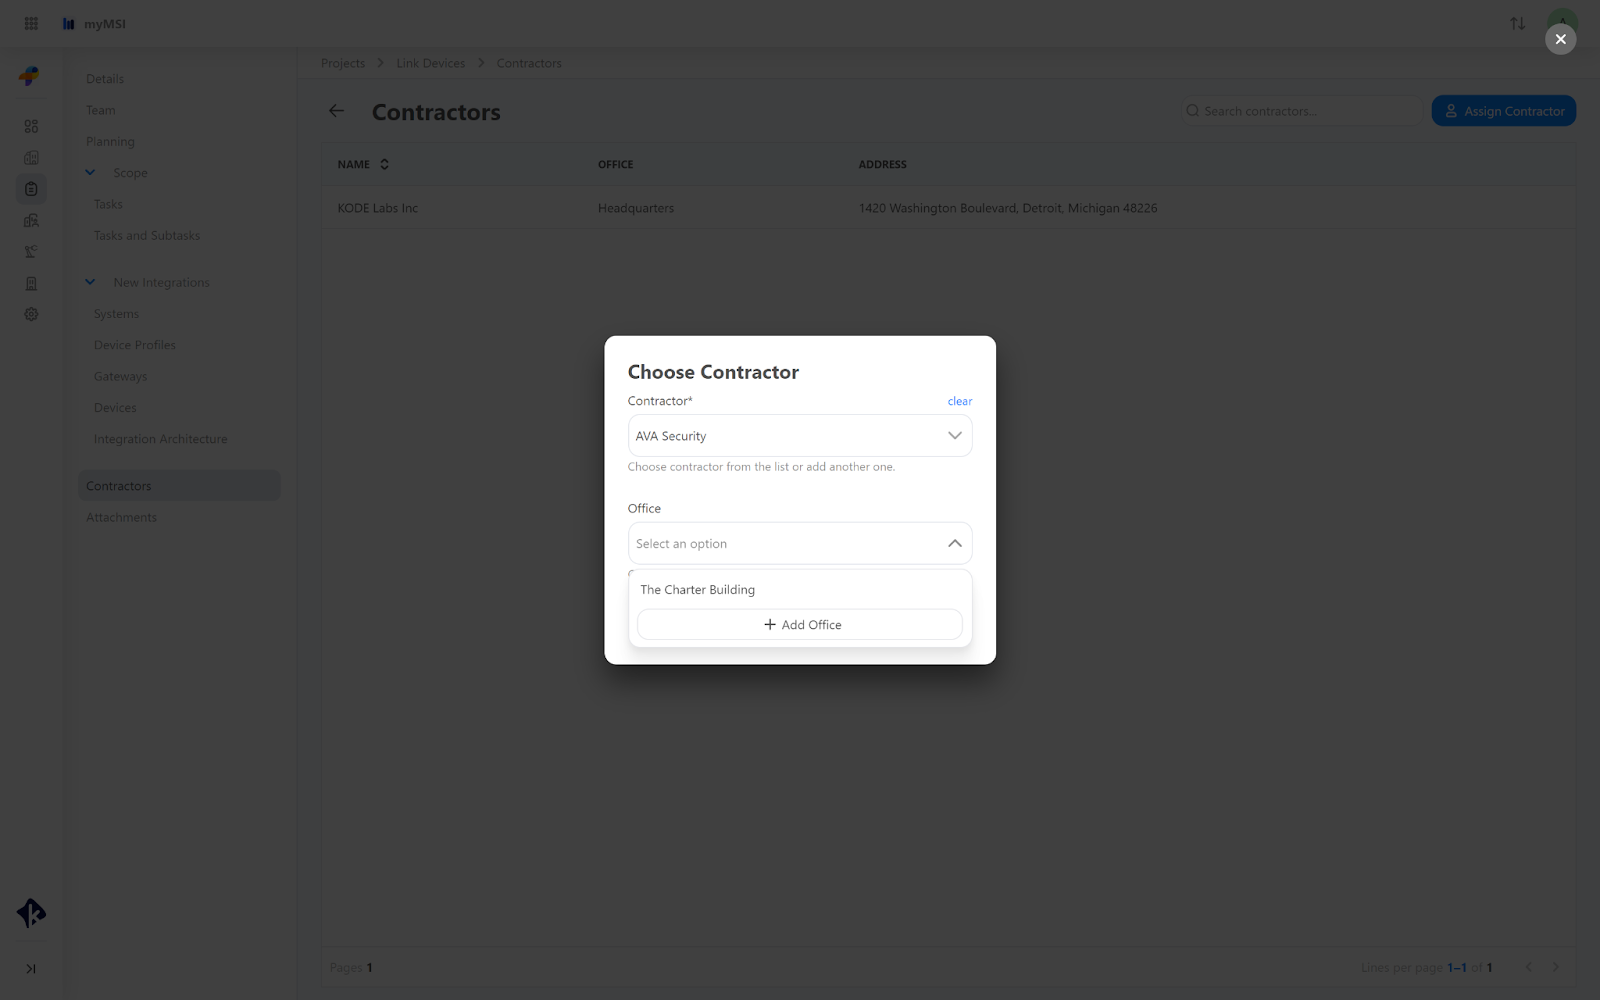
Choose the contractor on the popup window that opens up. Select the Contractor and the Office from the list.
If the office of your contractor does not exist or you want to add a new office, click on the “+ New Office” button to add a new one, and it will redirect you to the Contractors > Site > Offices.
Click on “Save” and now you have assigned a contractor to your project.

Note: To add new Contractors this should be done from the Contractor module, in this way it will show up in this list.
Remove Contractors from Projects
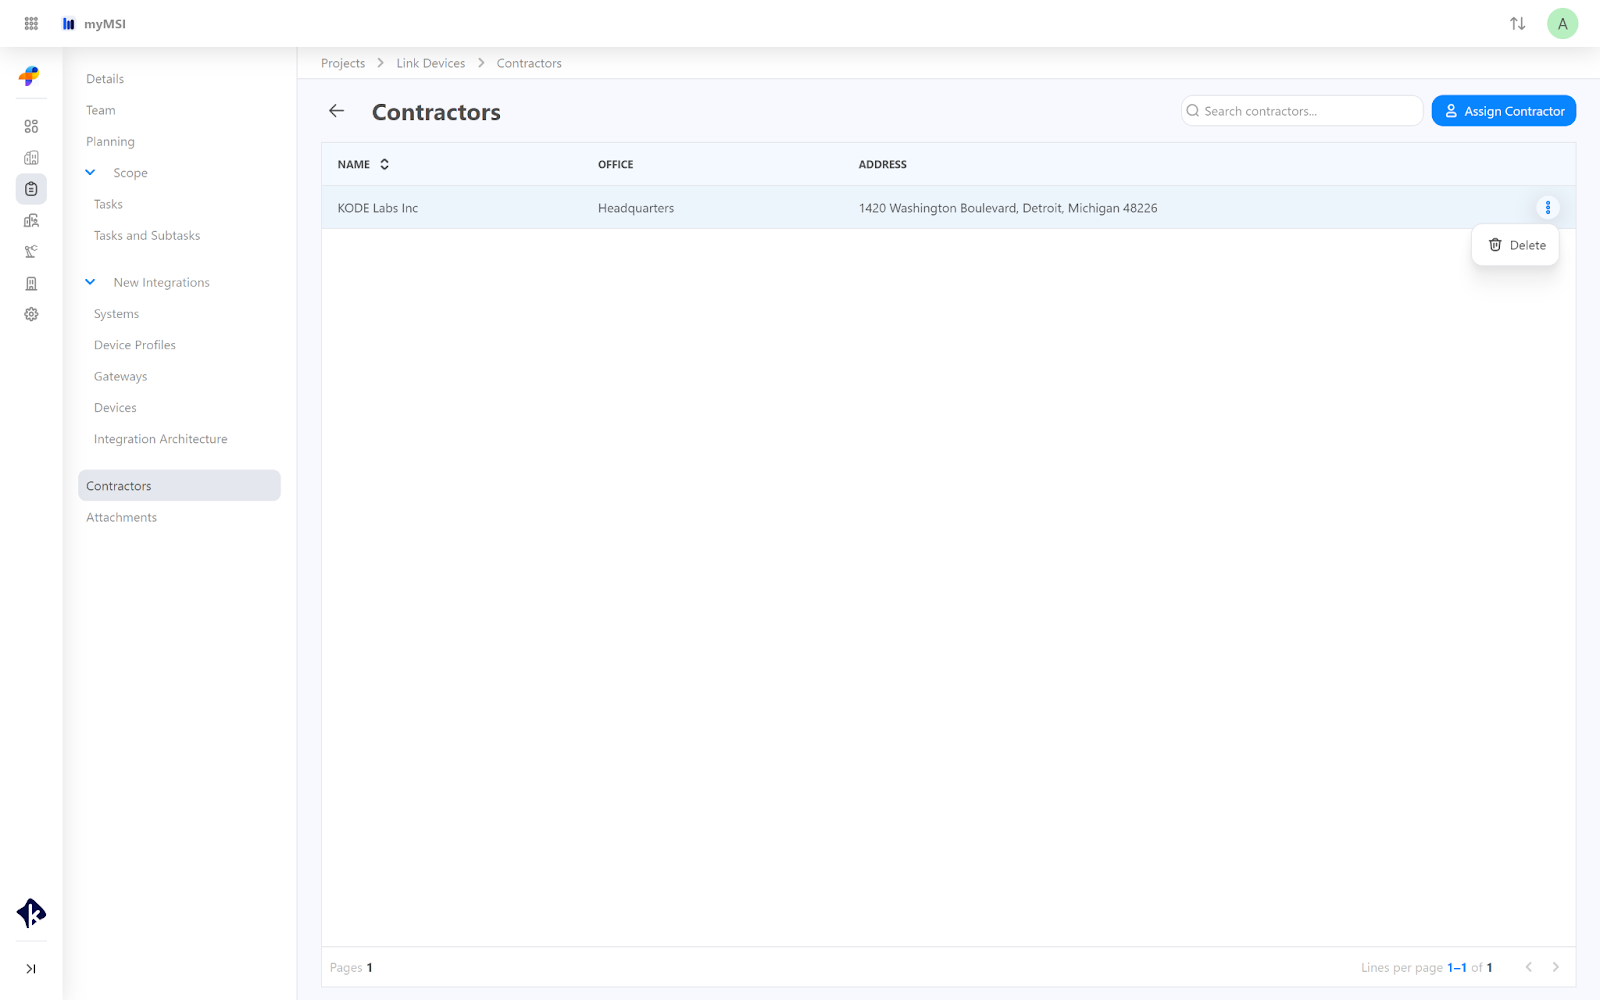
To remove a contractor from your projects:
From the list of assigned contractors click on the trash can icon at the far right of the contractor's row three dots.
Click on the “Yes, Delete” button, and you have removed the contractor from your project.
Related Articles
Contractors & Manufacturers
Contractors Menu At the Contractors menu you will see a list of all existing contractors. Here you can add, export and import Contractors. Add New Contractor Click “+ New Contractor” in the top right-hand corner of your screen. Fill in the Required ...Planning Page
The Planning Page is where you manage the setup of equipment for each floor of your project. It allows you to view and adjust what equipment is planned, including different types and quantities. You can explore various views to see your plans grouped ...Scope Page
The Scope page shows how a project is progressing, including what’s needed and who is responsible. You can use filters to sort tasks and view detailed notes. The Tasks page lets you add new tasks or use existing templates for easier management. Track ...Attachments Page
The attachments module allows you to add and manage attachments for each project, streamlining your workflow by providing easy access to details and an organized view of device lists, drawings, or any site information. To access attachments, open ...New Integrations Page
The integrations module is a source for putting all your device's details. It helps you to go over the basic elements during the integration process. Once you go to the Integrations page you will see the list of all Systems. You can also navigate to ...