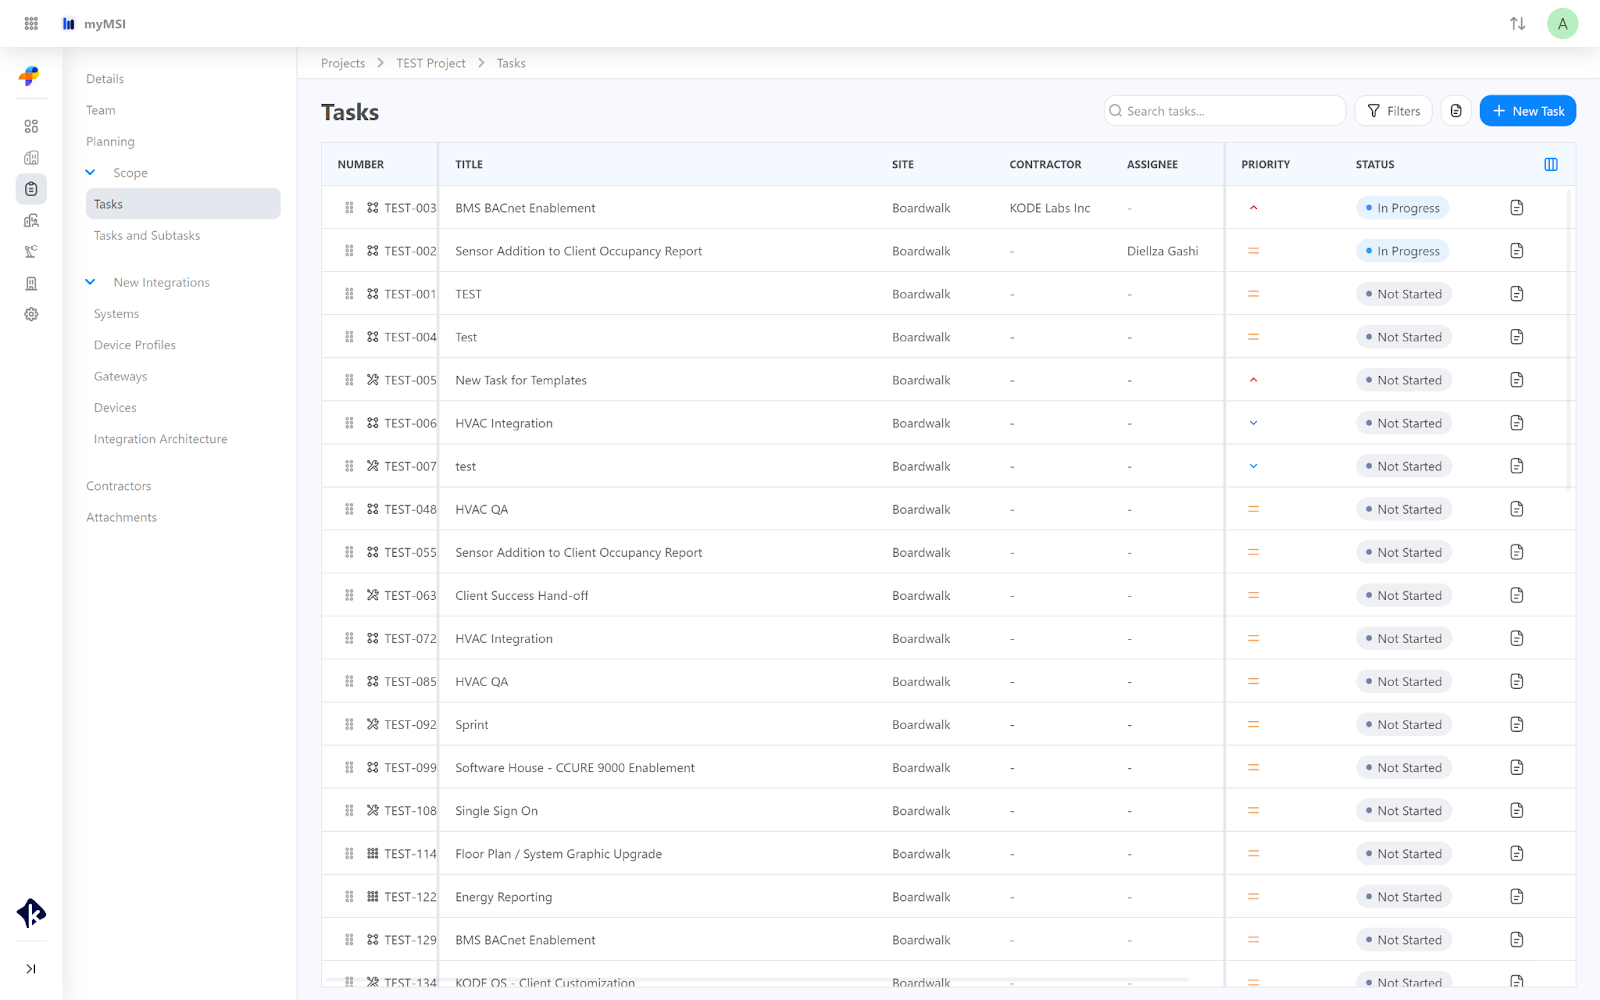
Scope Page
The Scope page shows how a project is progressing, including what’s needed and who is responsible. You can use filters to sort tasks and view detailed notes. The Tasks page lets you add new tasks or use existing templates for easier management.
Ensure that the devices are installed are getting all the information to enable the communication of devices with the platform,
Getting the information to place the device,
Tracking the uplifts needed to be made in the project,
Applications that need to be turned on for the building, and
Any custom development needed.
Filters&Notes
The filter tab on the Task and Subtask pages allows you to sort by Site, Start & End date, System Type, Application, Contractor, and Assignee. Additionally, you can filter by Priority and Task/Subtask status.
Besides the filters, there is a Notes button. By clicking this button, you can view all notes. Using the navigate button will redirect you to the Scope of Work, where you can see all the details and attachments for the specific task. You will also see the person who added the note, from what company it is, and the date/time the note was logged from.

Task Page
To add different tasks to your project follow the below steps:
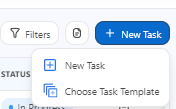
Click on the “+ New Task” button. On the dropdown menu select whether you would like to:
Choose Task Template.
Or add a New Task.
Creating a new task involves filling out all necessary information from scratch, including the title, site, type, priority, assignee, start date, estimated/actual end date, contractor, and description.
By clicking "Choose a task template," you can access all the templates you’ve created in the "Admin Panel." Follow this link for more information regarding Tasks Templates on Admin Panel.
Related Articles
Planning Page
The Planning Page is where you manage the setup of equipment for each floor of your project. It allows you to view and adjust what equipment is planned, including different types and quantities. You can explore various views to see your plans grouped ...Attachments Page
The attachments module allows you to add and manage attachments for each project, streamlining your workflow by providing easy access to details and an organized view of device lists, drawings, or any site information. To access attachments, open ...New Integrations Page
The integrations module is a source for putting all your device's details. It helps you to go over the basic elements during the integration process. Once you go to the Integrations page you will see the list of all Systems. You can also navigate to ...Contractors Page
The Contractor tab provides an efficient way to manage contractors for your project. You can assign or remove contractors, as well as add new offices if needed. This feature helps streamline project management by keeping contractor details organized ...Navigating through a myMSI Project
The Projects feature of myMSI allows you to create, manage, monitor, and control your projects. This will include project details, project team, planning, scope, new integrations, contractors, and additional attachments. Accessing Projects To access ...