Navigating to Admin Panel
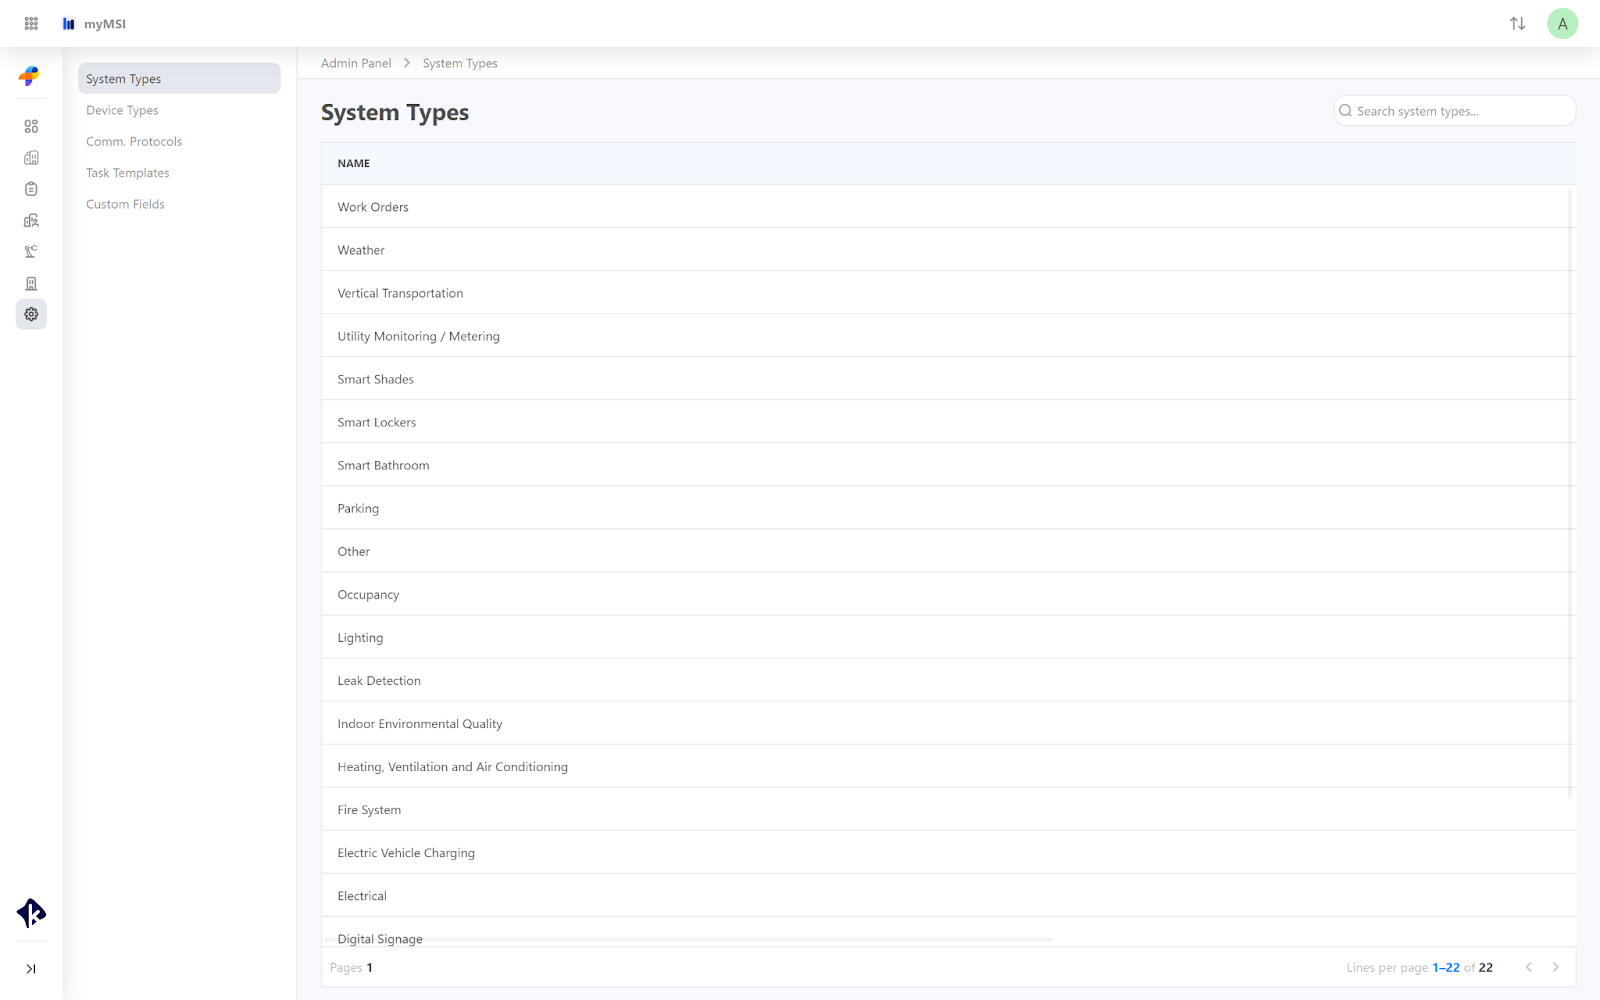
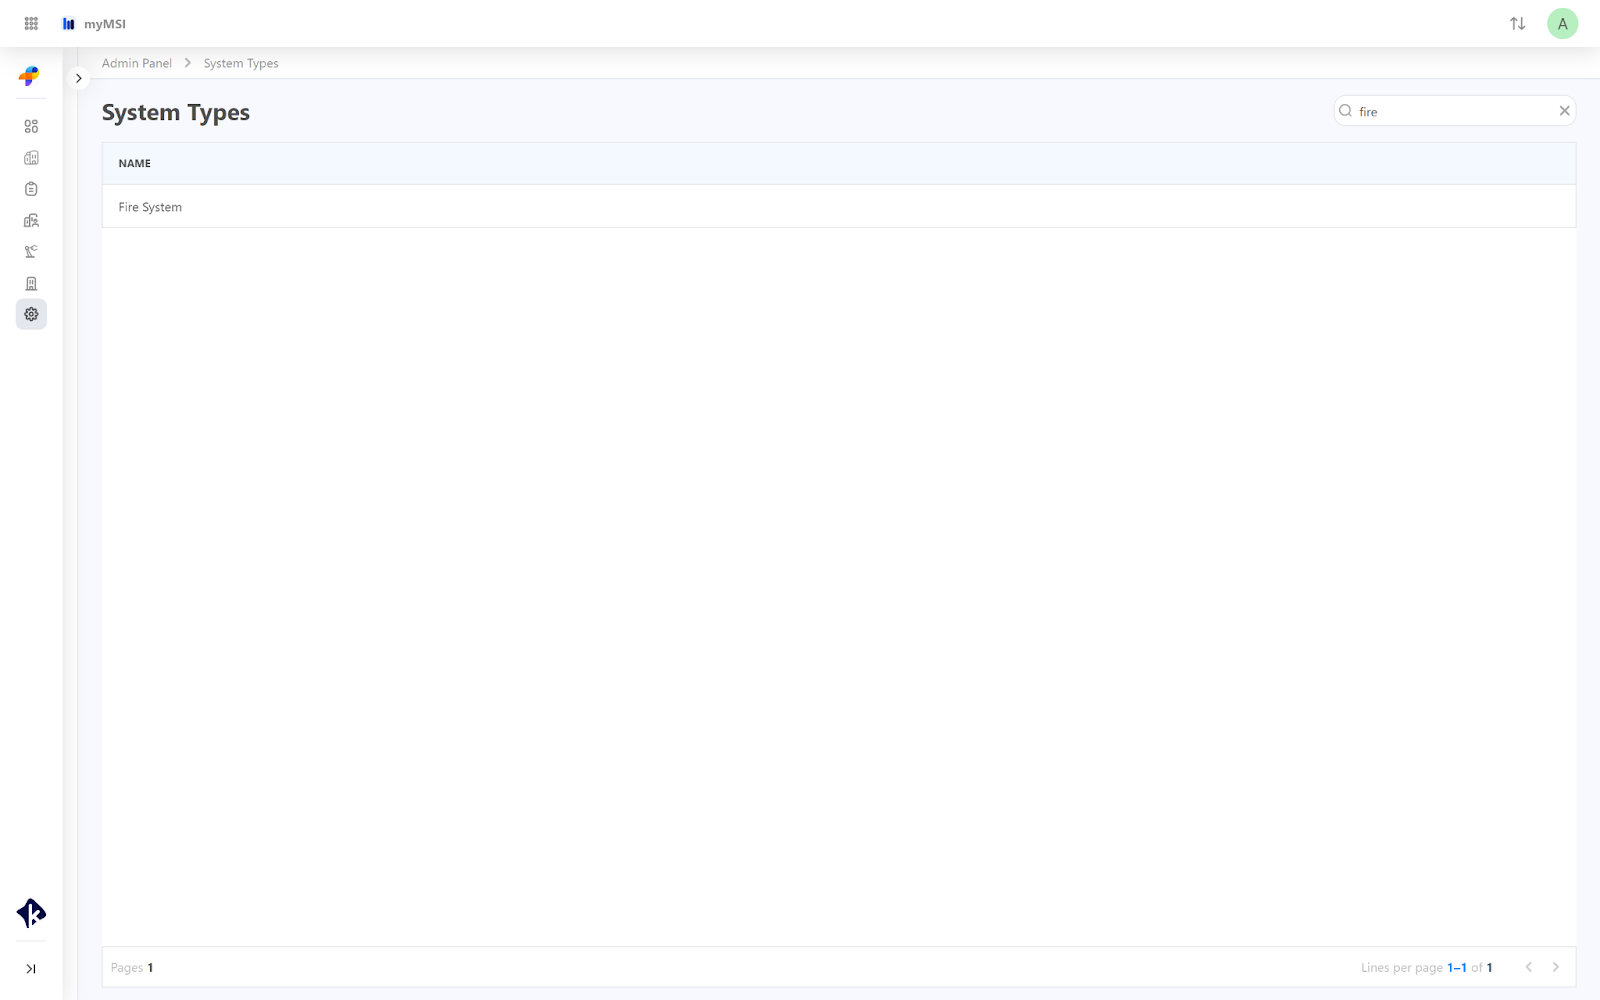
System Types
On the System Types page, you can view the list of existing system types. These types can be selected when you create systems on the "New Integrations" of the project page.
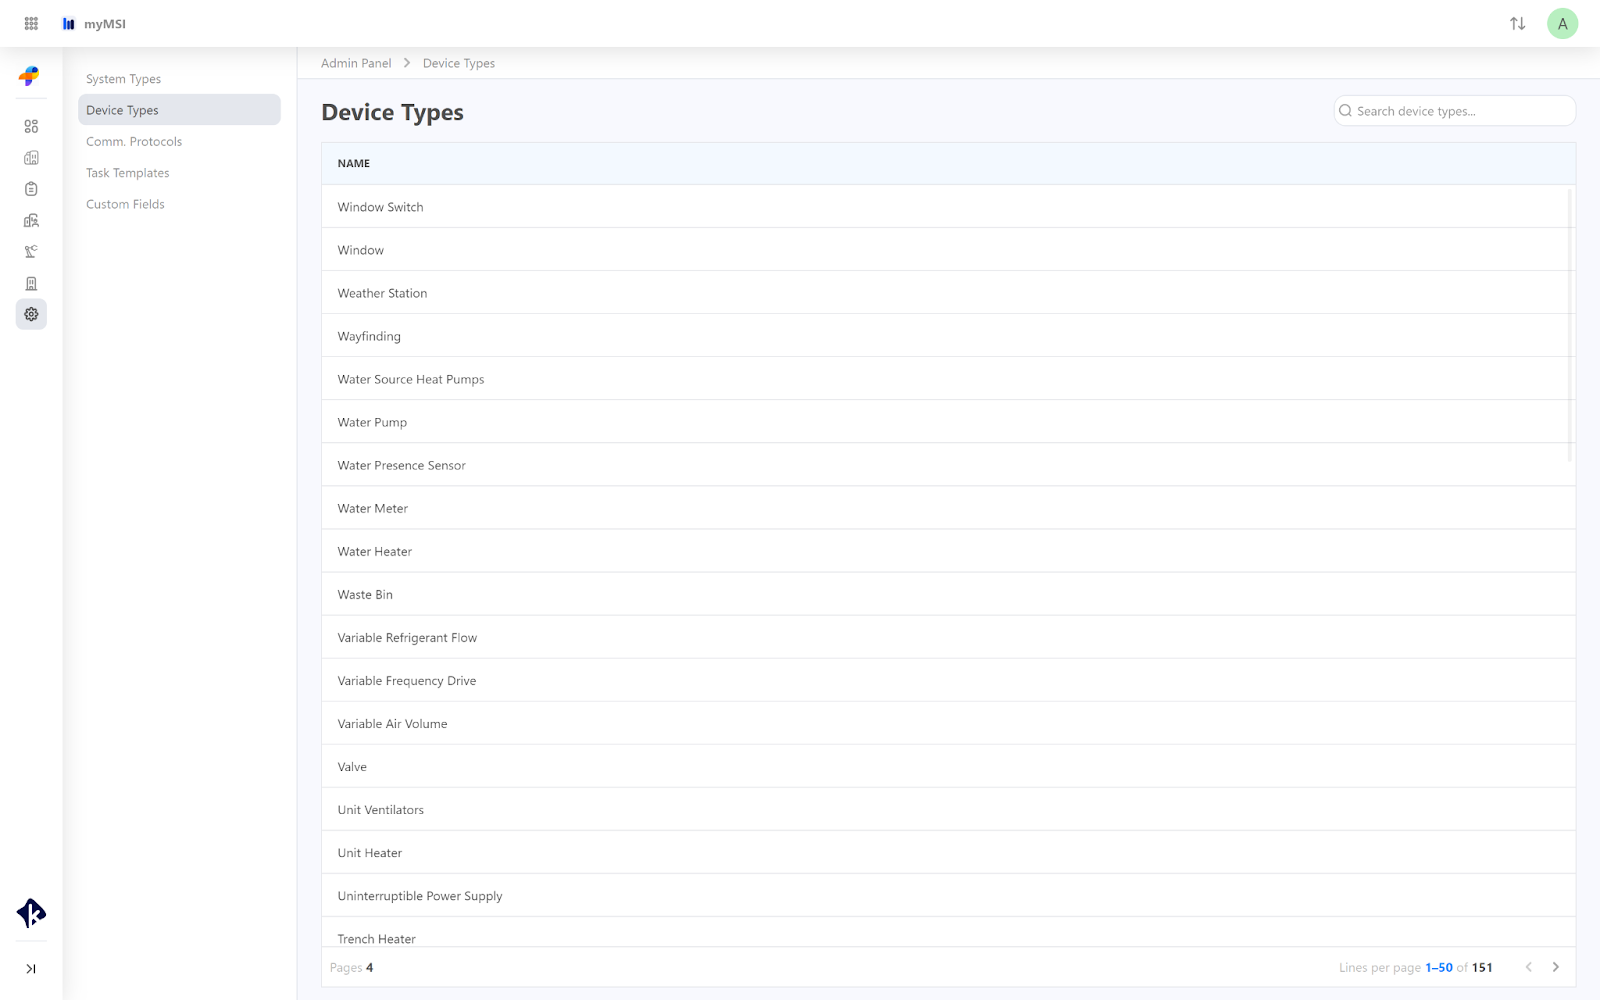
Device Types
On the Device Types page, you can view the list of existing device type. Also here you can choose these types when setting up systems on the "New Integrations" section of the project page.
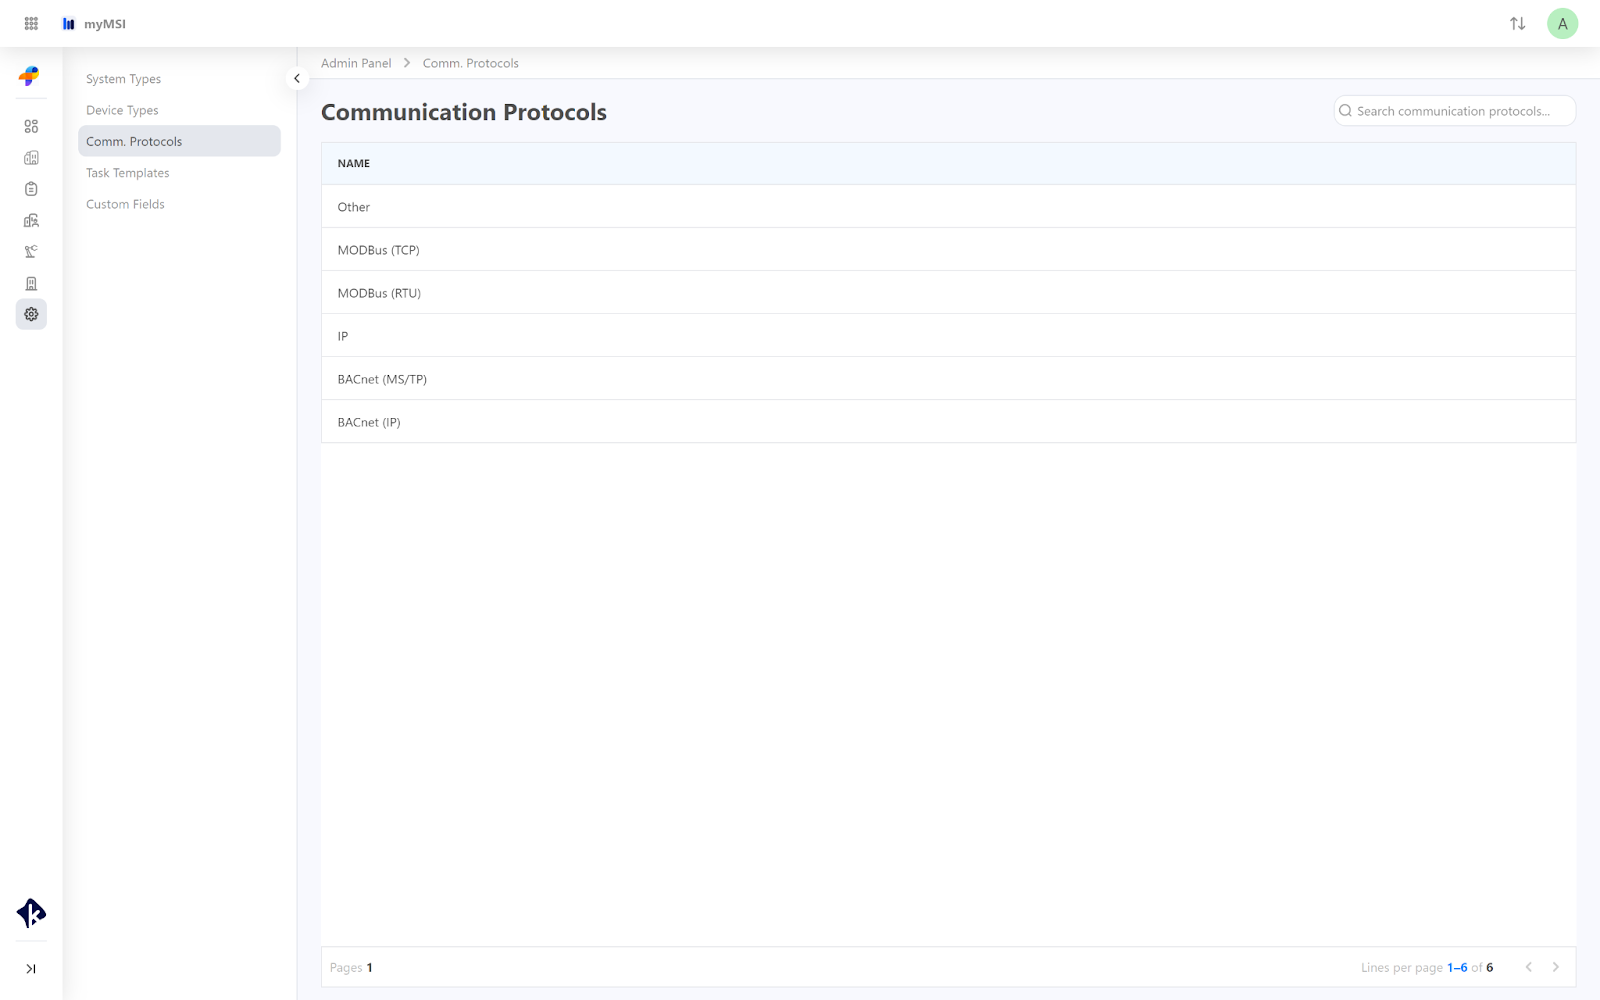
Communication Protocol
On the Comm. Protocol page you can view the list of existing communication protocols.

Task Templates
On the Task Templates module, you will access the list of all tasks and the number of subtasks associated with each task. This template can be used at all projects without the need to add the same task manually on each project.
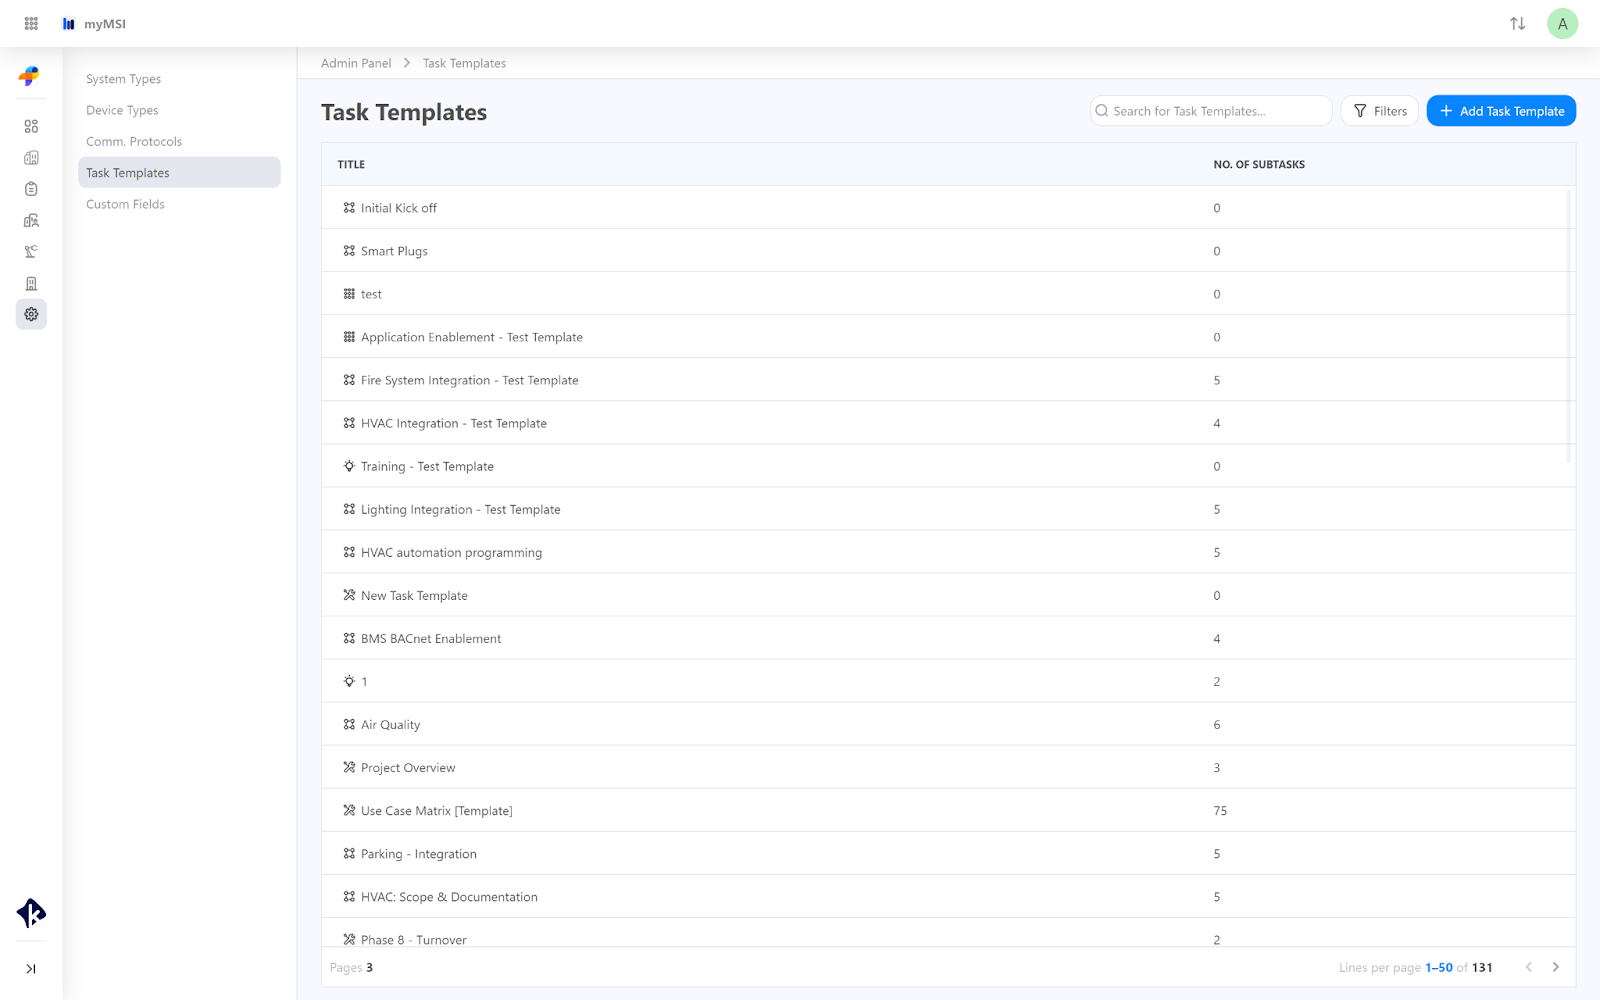
Navigate to the Task Templates by selecting the Admin Panel module from the main left navigation bar.
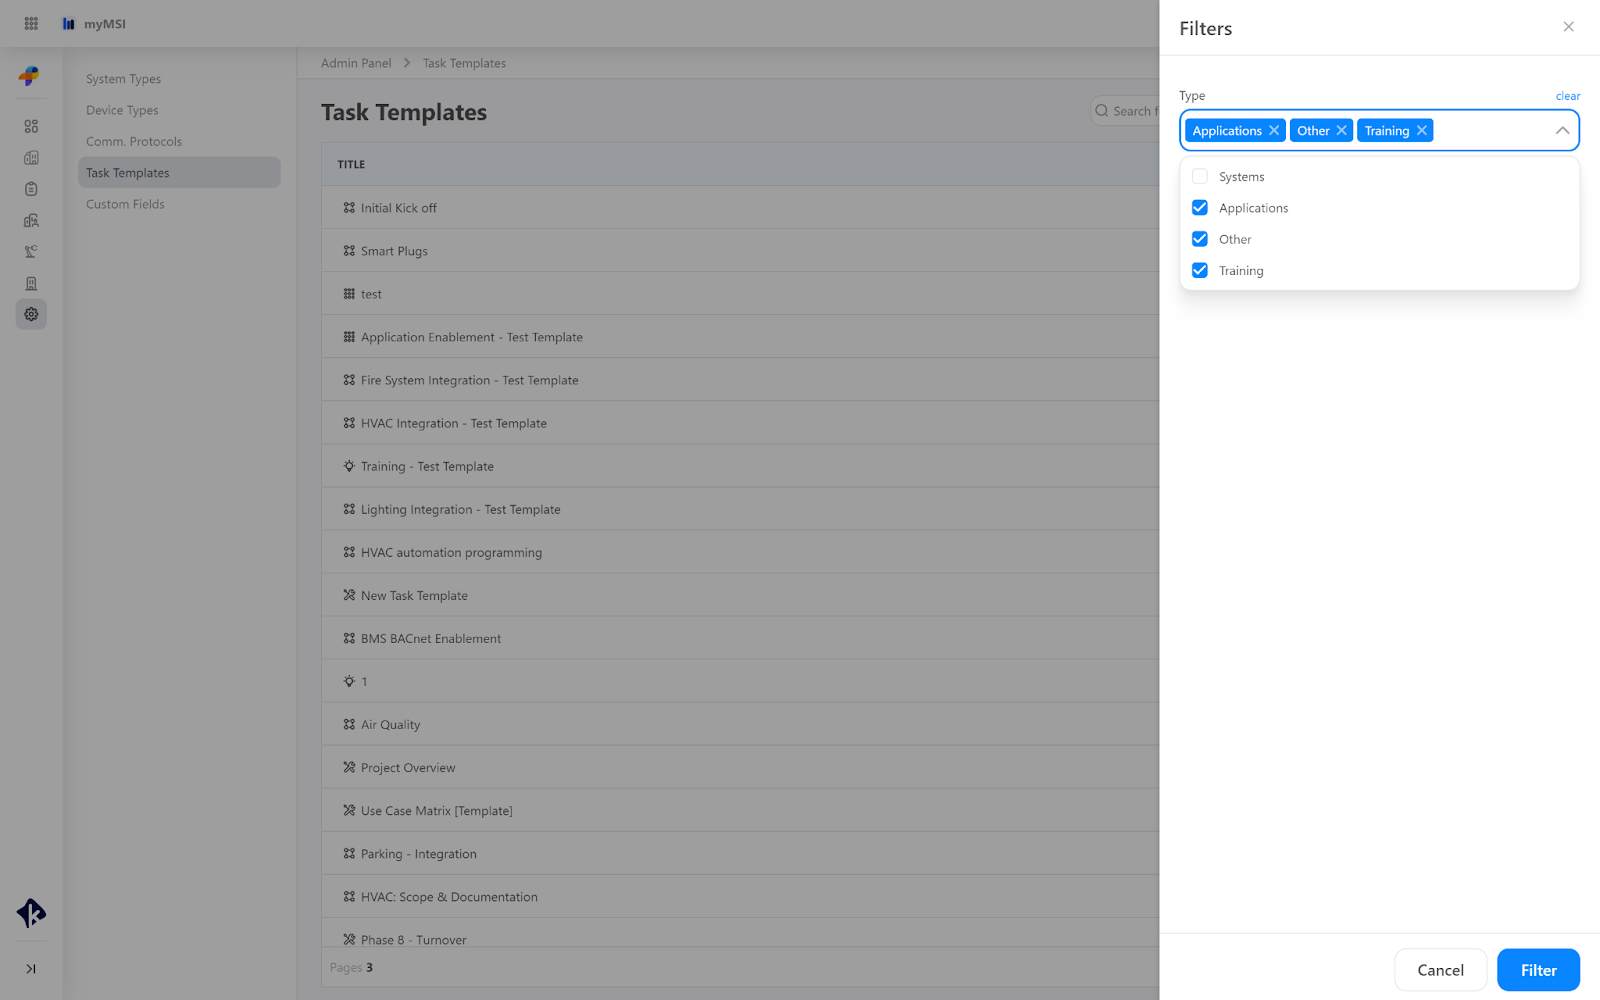
- Filter the list by clicking on the “Filter” button.
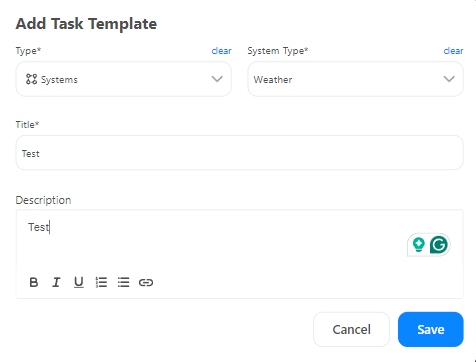
- Add a new task template by clicking on the “+ Add Task Template” button.
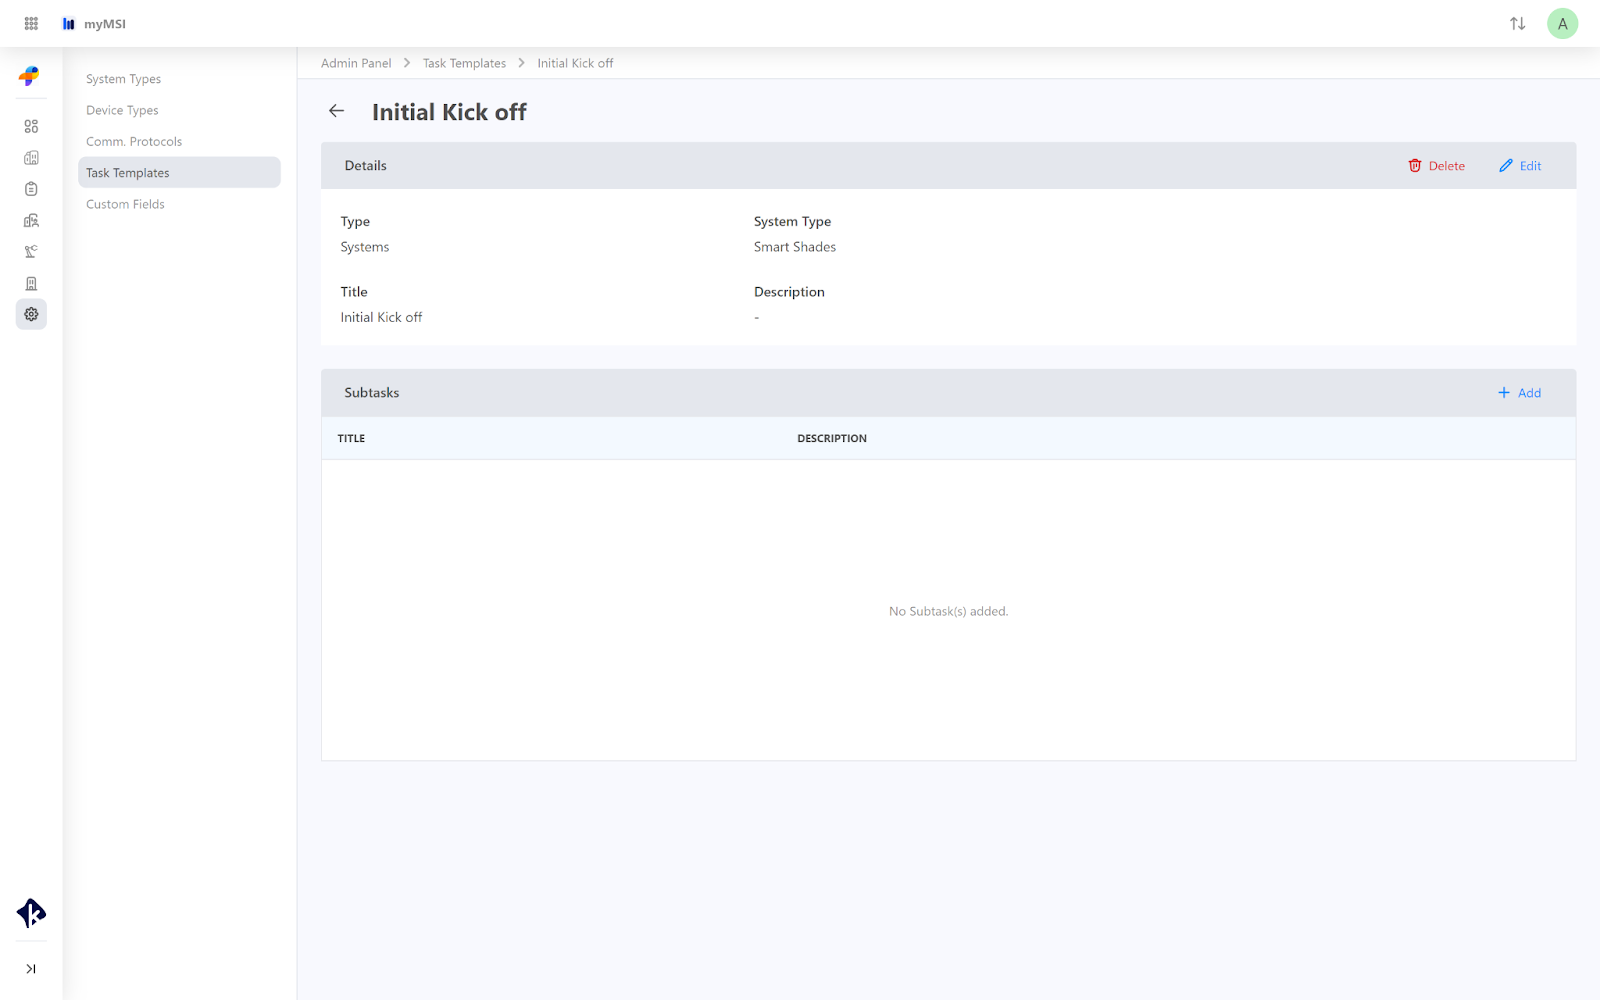
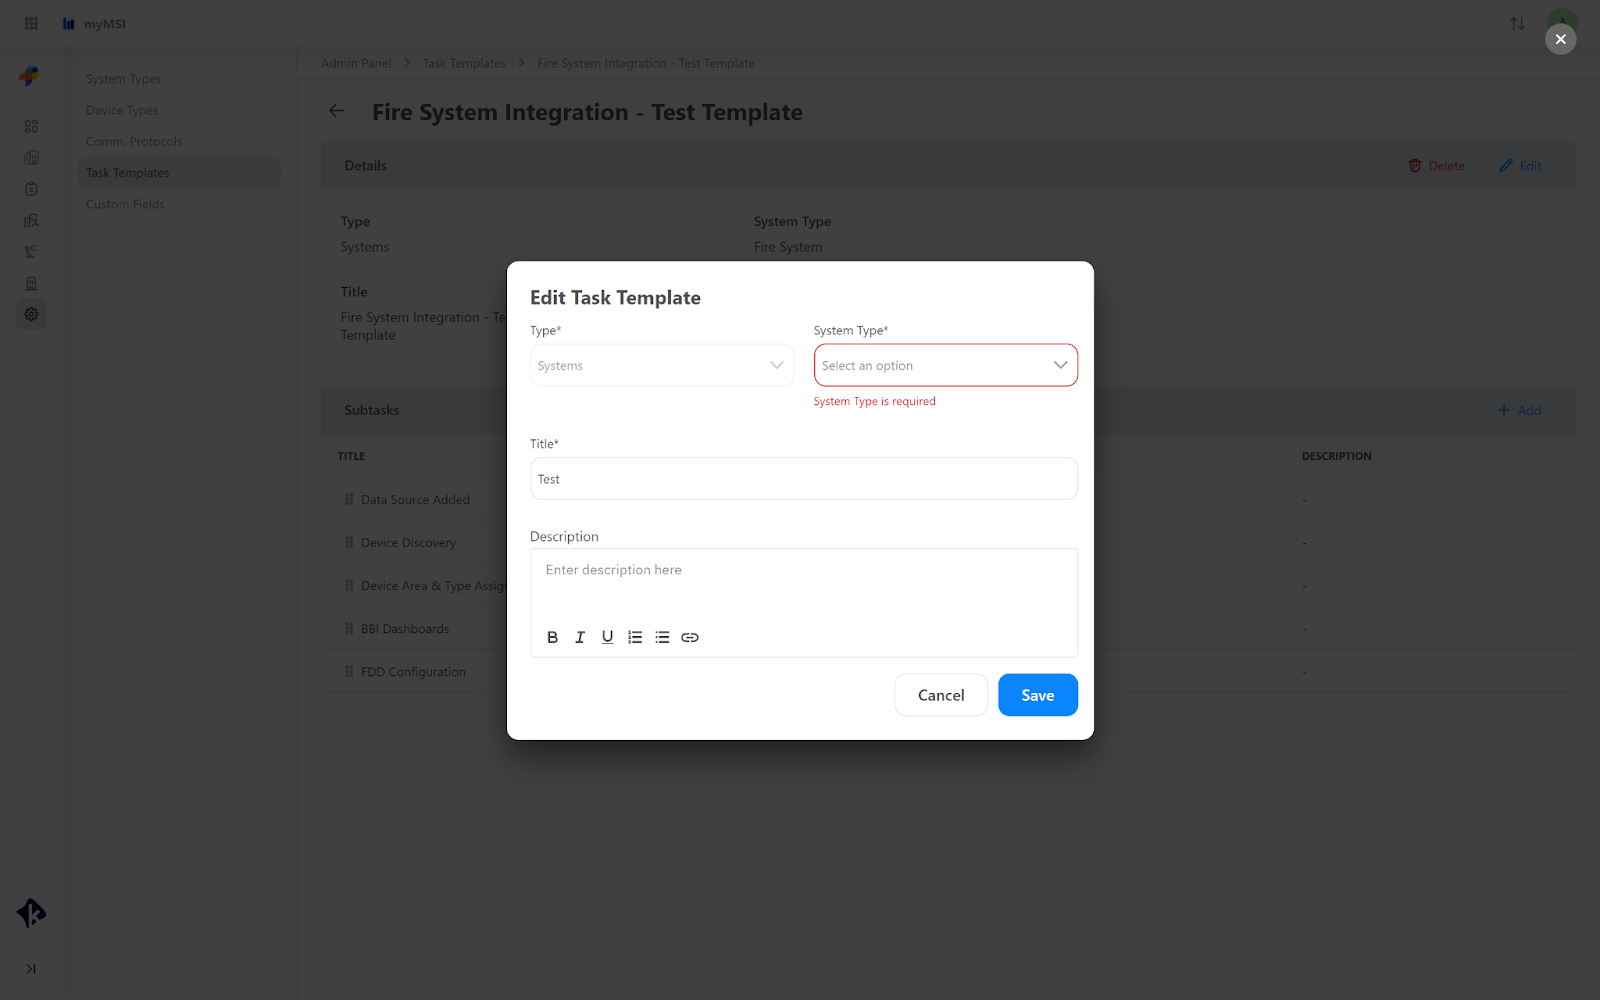
From the details page, you can:
- Edit the task, by changing the System type , title or editing the Description.
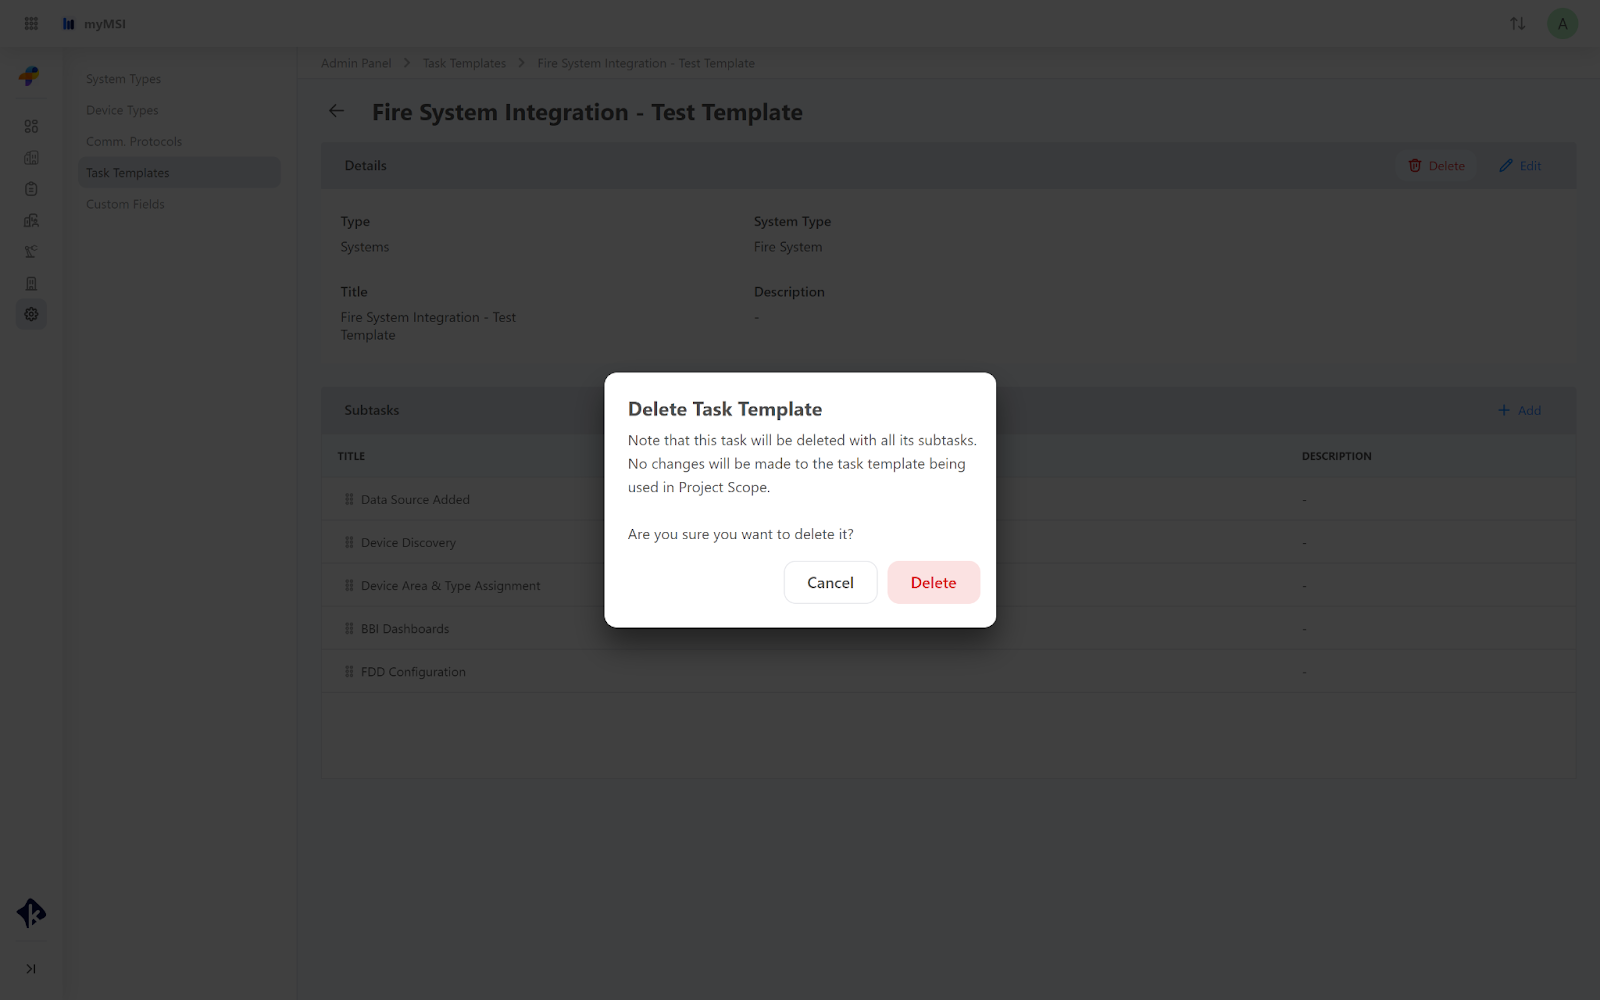
- Delete the task, by clicking on the trash button.
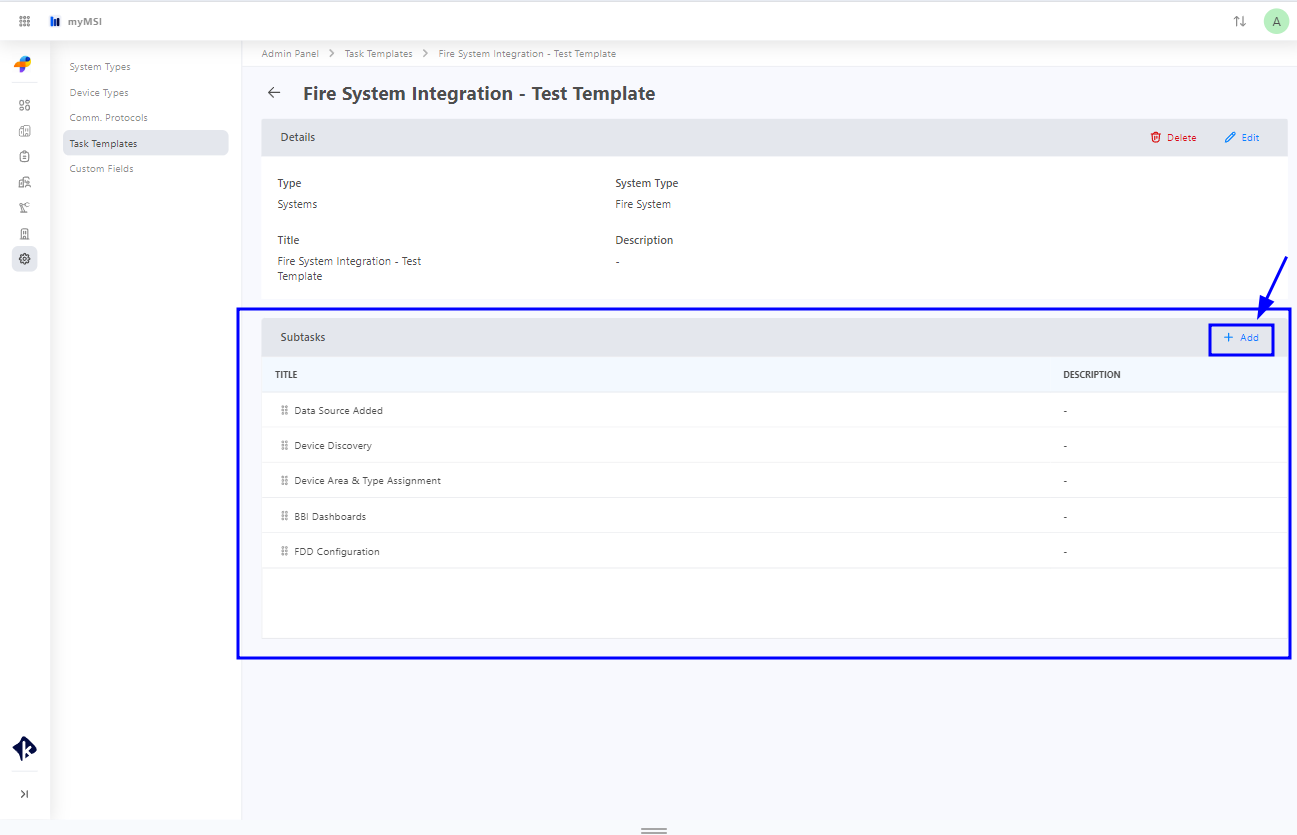
Subtasks
You can add a new Subtasks by clicking on the “+Add” button located on the right side of the Task.
To Edit or Delete a subtask, click the three dots at the end of the row for the specific subtask.
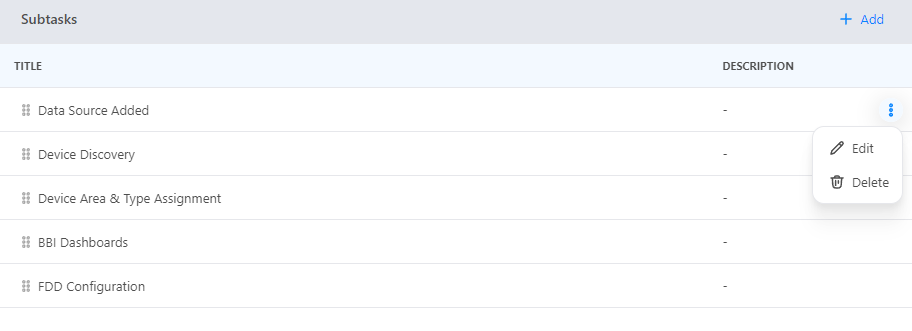
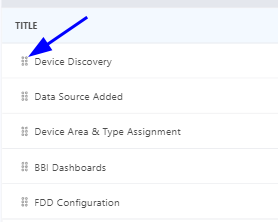
To Reorder them, just drag and drop using the six-dot button to move them to your desired location.
Custom Fields
This feature allows users to add custom fields to assets, enabling the collection of specific information beyond what is available in the platform's default fields This enhancement is focused on providing flexible solutions for comprehensive asset management.
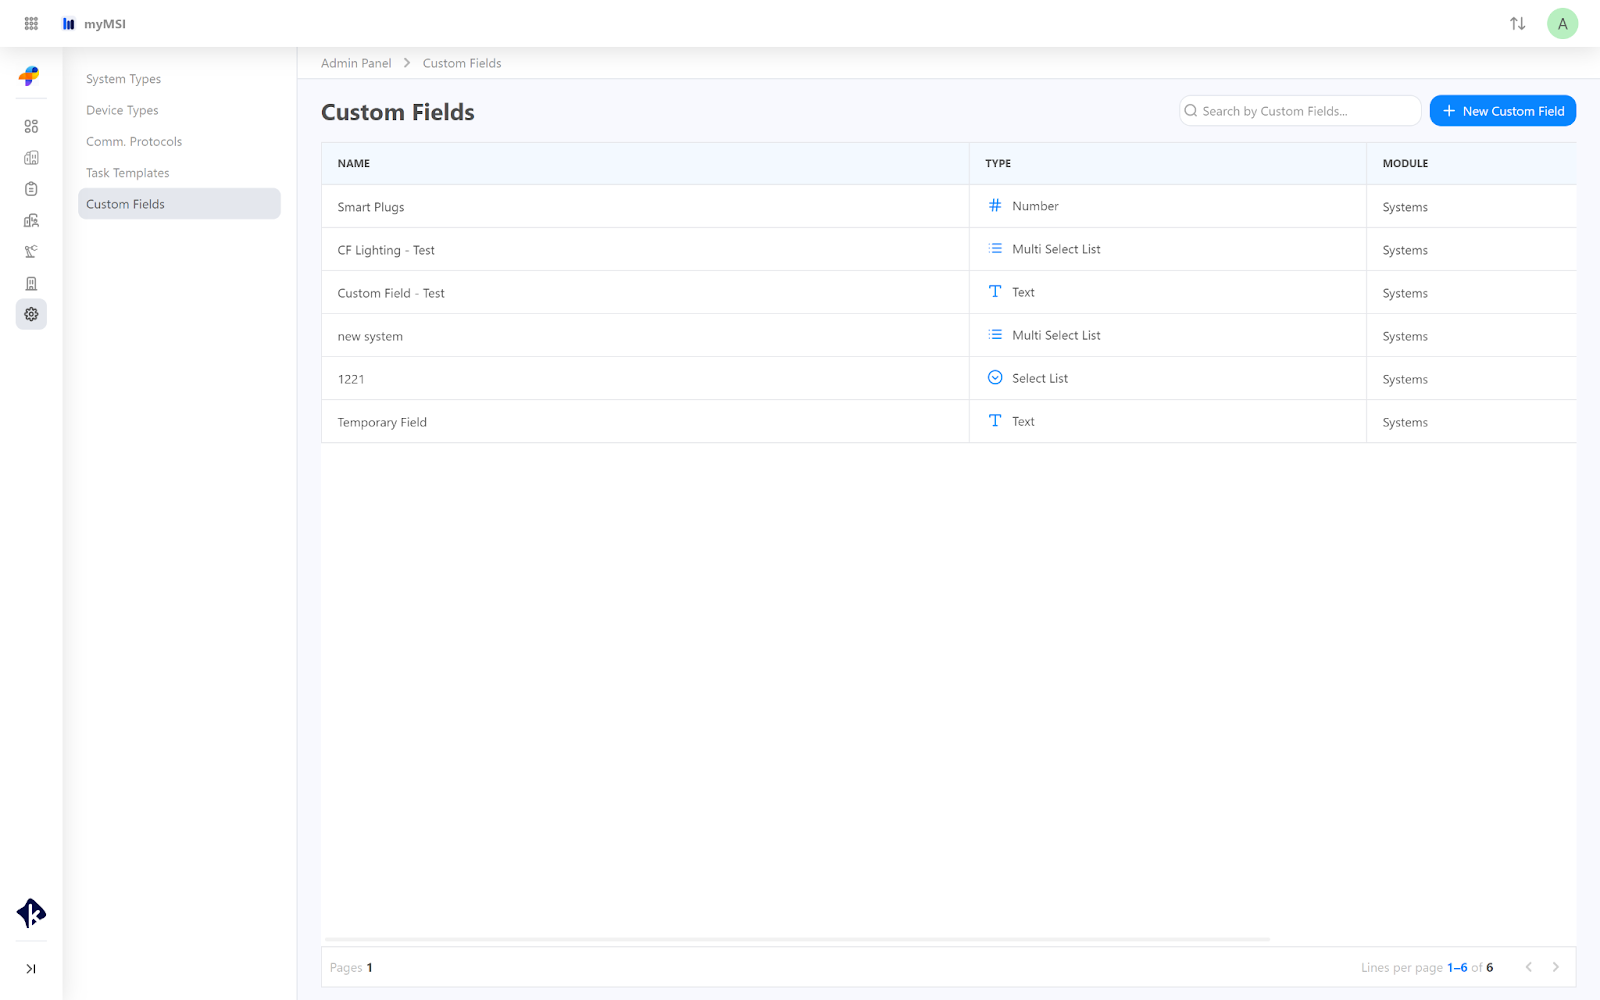
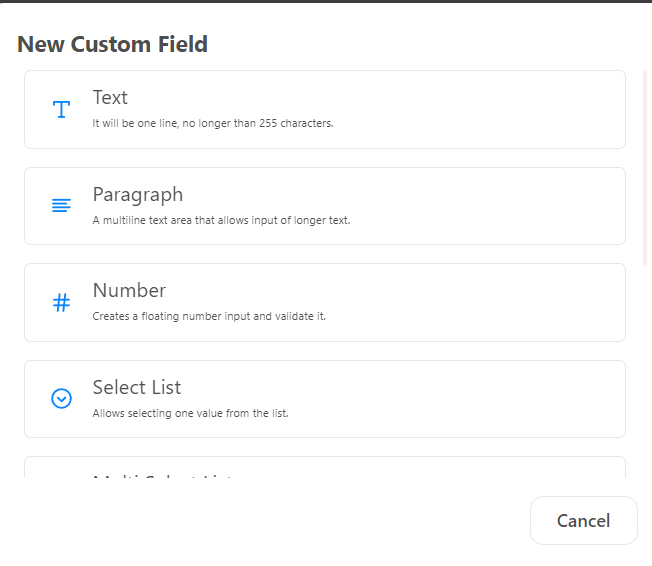
To add custom fields click on the “+ New Custom Field” button: Then follow these steps:
Select the Field Type. For example select “Text”
Fill in the required fields.
Module
Name
Options
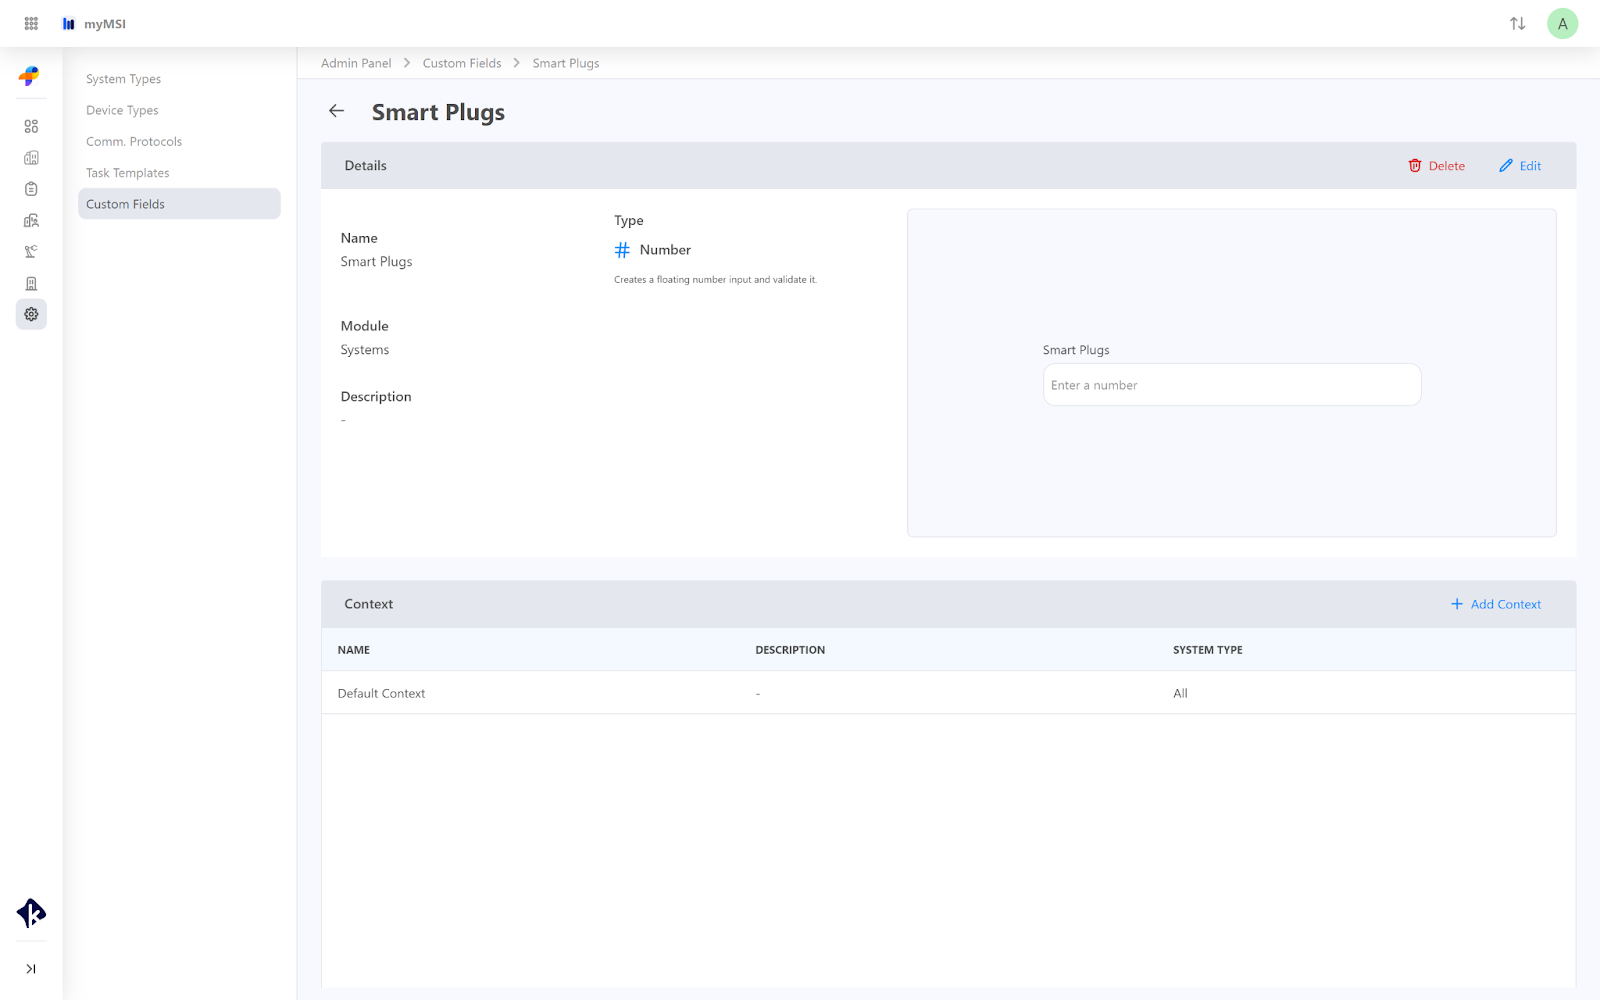
Click on “Create” and the new field will display on the module you have selected.
Once you hit on “Create”, you will be prompted to the Custom Field Details.
From here you can Edit and Delete the field you have created and/or “Context” Details.
If you have selected the System Module, by default the “Context” will apply to all systems. However, you can add
New Context and apply it to specific System Types, by clicking on “+ Add Context” button.
Custom Field Types
- Text Input: Provides a single-line text box for user input, limited to 255 characters.
- Long Text Input: Creates a multi-line text area for extended text entries.
- Number: Generates a floating number input with validation.
- Select List: Allows the selection of a single value from a predefined list.
- Multi-Select List: Permits the selection of multiple values from a list.
- Checkboxes: Enables the selection of multiple values from a list.
- Radio Buttons: Facilitates the selection of one value from a list.
- Date Picker: Lets users select a specific date.
- Date-Time Picker: Enables the selection of both a date and a time.
Edit and Delete and Add Context to Custom Fields
To Edit an existing field, simply click the pencil button to enter the editing mode. This allows you to make changes to the content directly within the field. Once you’ve made your edits, make sure to save the changes to update the field accordingly.
If you need to Delete a field, click on delete button located on the top right. Confirm the deletion when prompted to remove the field and its contents.
Related Articles
Exploring myMSI
Managing projects and organizational tasks requires a structured approach, and myMSI offers a design to simplify complex workflows. This article dives into each component of the myMSI, highlighting their functionalities and benefits for effective ...Navigating through a myMSI Project
The Projects feature of myMSI allows you to create, manage, monitor, and control your projects. This will include project details, project team, planning, scope, new integrations, contractors, and additional attachments. Accessing Projects To access ...Navigating to myMSI dashboard
The initial section presented in the myMSI environment is the "Dashboard”. Upon entering, you will have access to the project information. Project Status A circular graphic provides insights into the current standing of the project, describing areas ...Navigating to the Sites Menu
The Sites Menu is where you can overview details on a property basis. It is here that you will be able to view and interact with: Location & Address of the Property Floors and Areas within the building Team members assigned to that site Systems ...Navigating to the Company Menu
Within the Company menu, you can access comprehensive information about a company, including its details, the associated user list, and any attached documents relevant to the company. Details The Details section provides key information such as the ...