User Management
Adding New Users
You will be able to manage your KODE OS and myMSI users from Launchpad. In order to have access to Launchpad you will need to get an access link which will be provided to you by KODE Labs or one of its channel partners.
To add a user on KODE OS and myMSI follow the below steps:
Go to Launchpad.
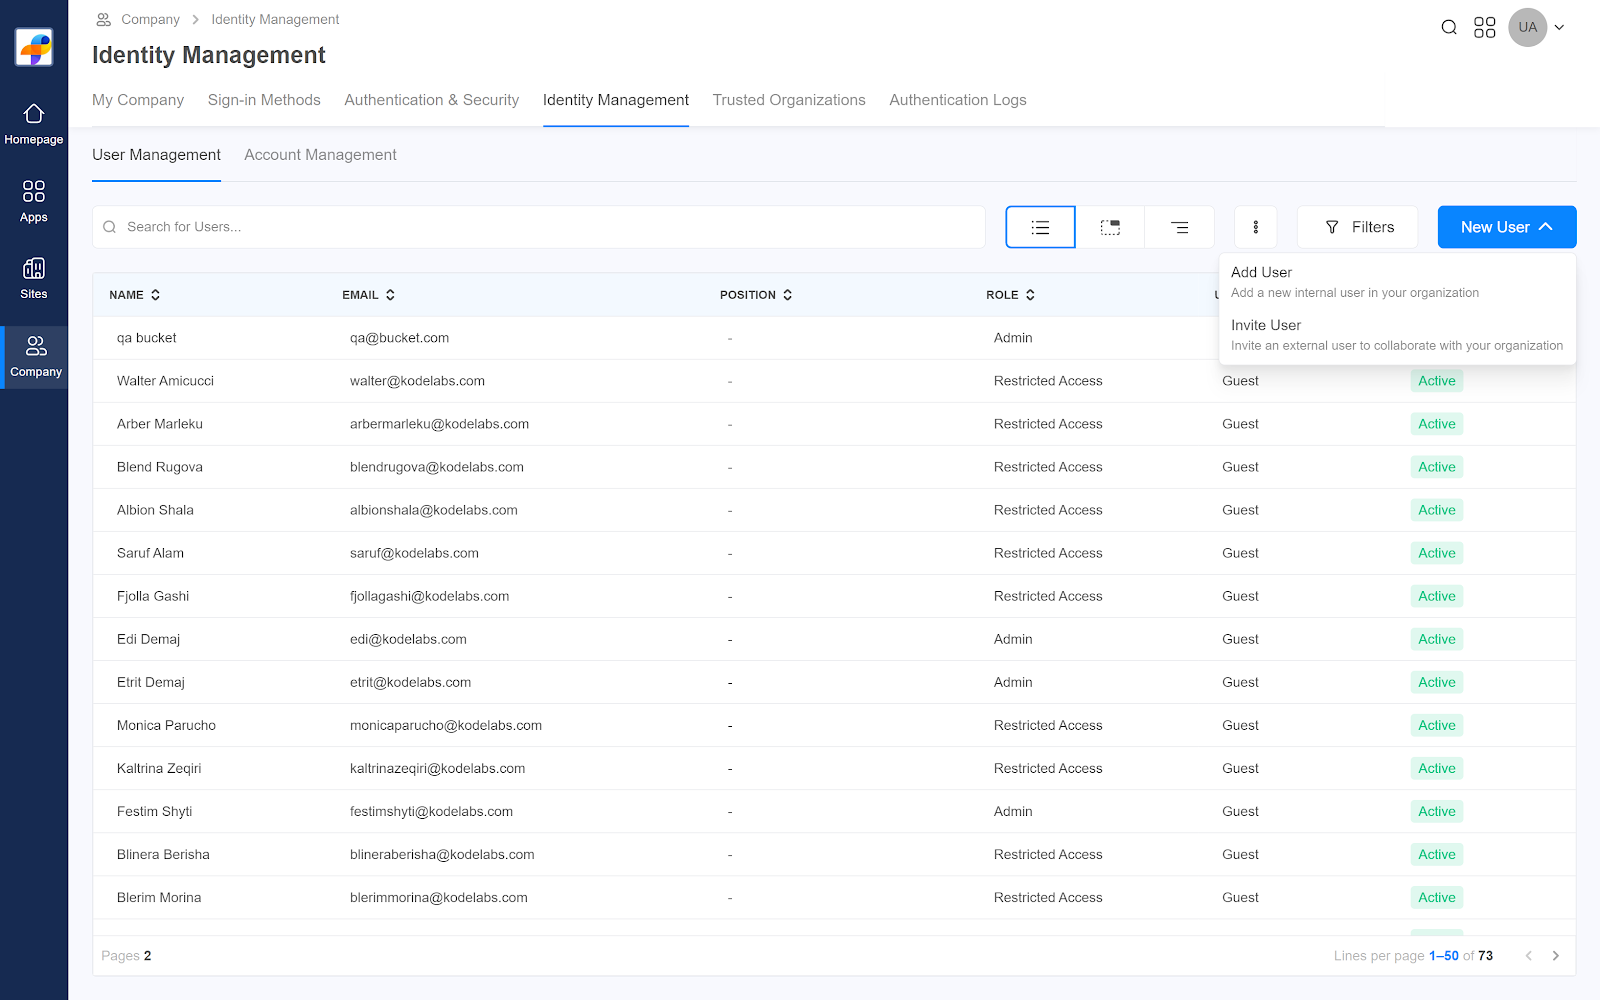
On the left main navigation bar select “Company”.
In the page that opens up select the “Identity Management” tab.
Click on the “New User” button.
On the dropdown you will see 2 options:
Add User: Add a new user in your organization, temporarily or permanently.
Invite User: Invite a user to collaborate with your organization, temporarily or permanently.

Note: You can only invite Users if they have accounts created on one of your Trusted Organizations.
Add User
Clicking on the “Add User” button you will be prompted to add a new user for your organization. From here fill in the fields with personal user’s information such as First Name, Last Name, Position, Launchpad Role (Admin or Restricted Access), Email, Phone Number and Account Status.
From the Apps Section:
Select the App you would like to assign to the user.
On the right side of the bar choose the user's Role.
Click on the “Save User” button.
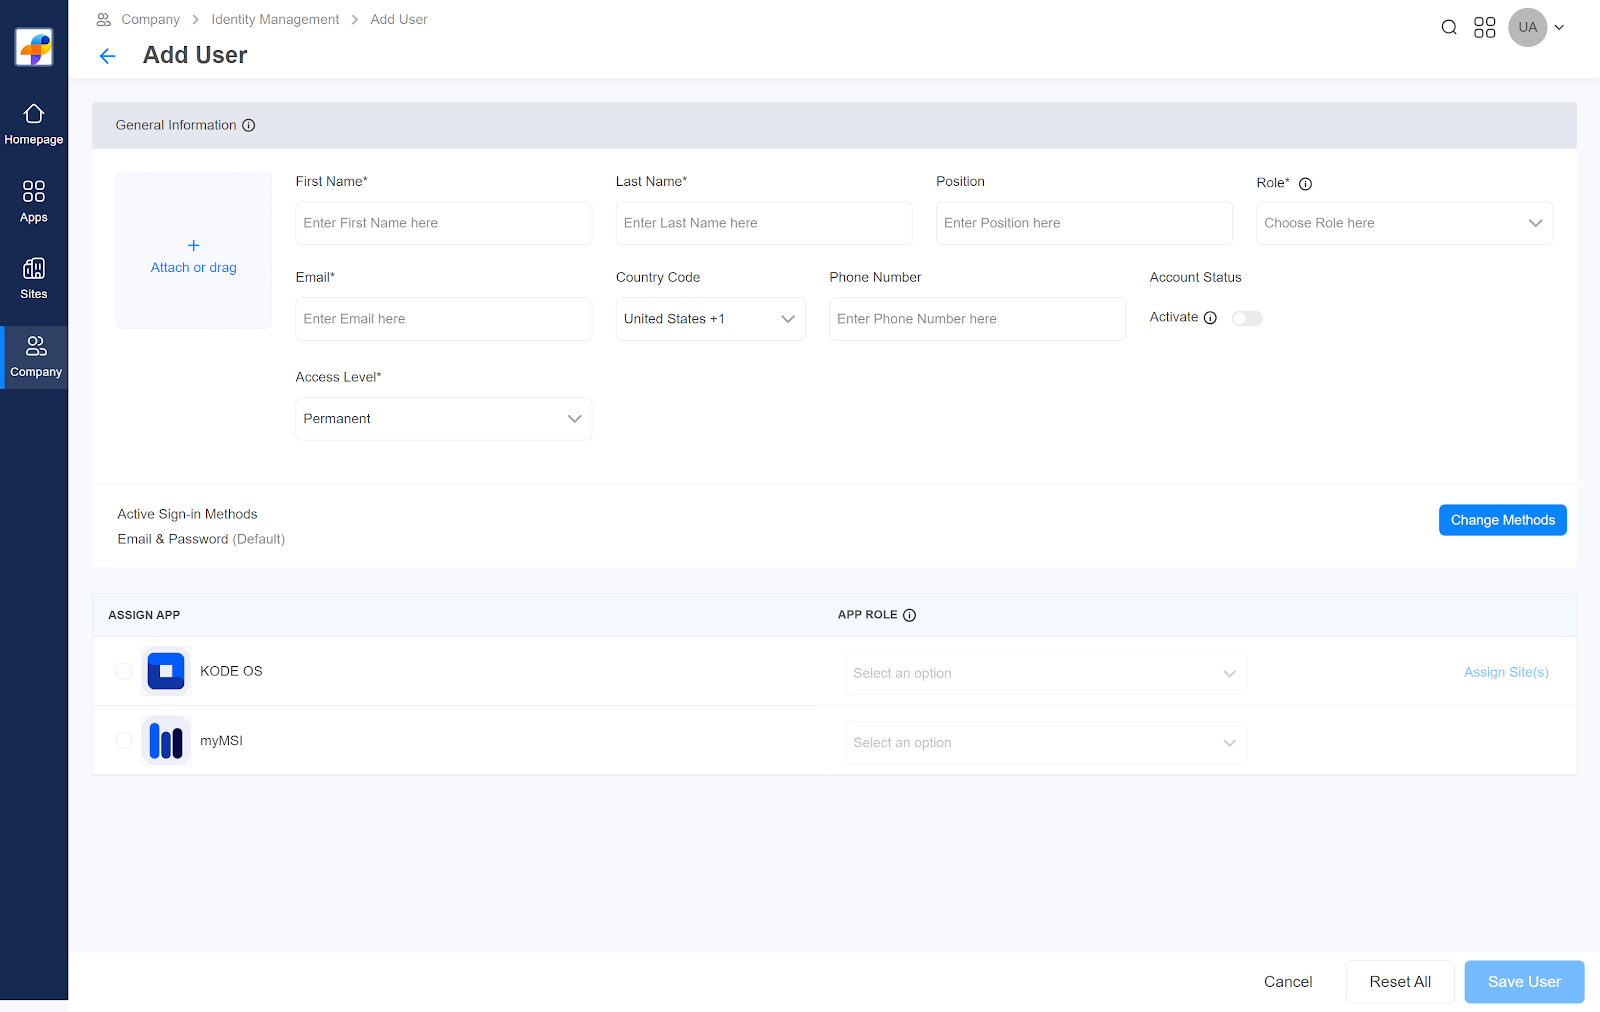
Note: This entire process requires admin privileges on launchpad.
Invite User
Clicking on the “Invite User” button you will be prompted to invite a user to your organization.
From here fill in the fields with general user’s information such as Email, Position, Role (Admin or Restricted Access).
Select Access Level.
Select Trusted Organization.
From the Apps Section:
Select the App you would like to assign to the user.
On the right side of the bar choose the user's Role.
Click on the “Invite User” button.

Launchpad Roles
There are different levels of access and permissions that you can assign to a user when you add them on Launchpad. Here is a short description for each of the available Launchpad roles:
Admin Access:
As an Admin, you have the highest level of access and control over Launchpad. Your permissions include:
Launchpad Access: Full access to the Launchpad, enabling you to navigate seamlessly through all features.
Client Management: View and edit client details, ensuring accurate and up-to-date information.
User Management: Full control over user profiles, allowing you to view, add, and modify user information.
SSO Configuration: Access and modify Single Sign-On (SSO) configurations.
User Access:
Users with standard access have a more limited set of permissions, promoting a read-only experience. As a User, you can:
Launchpad Access: View-only access to the Launchpad, providing insight into client details and user information.
Client Details: Review client information to stay informed about relevant data.
User Information: View details about users but without the ability to make changes.
Sign-in Methods: Access information related to sign-in methods for user authentication.
Restricted Access:
Restricted Access level provides:
No Launchpad Access: No access to Launchpad.
This role offers the ability for channel partners to add and manage all users in one centralized environment and not give them access to the Launchpad.
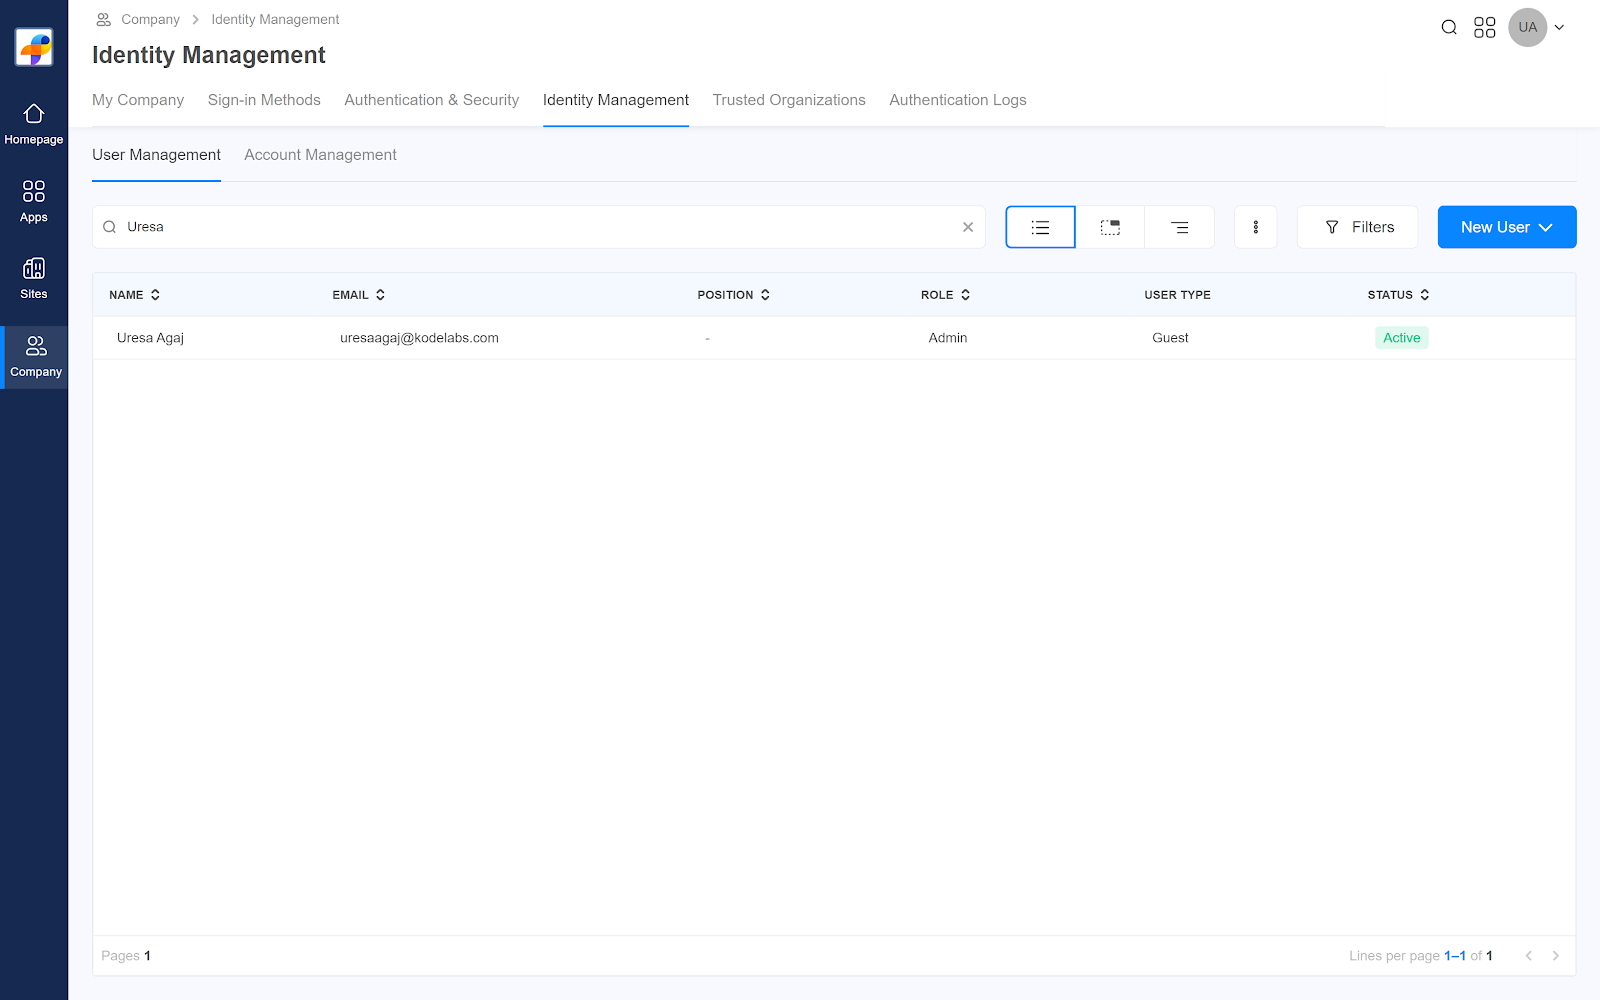
What is the difference between User Management and Account Management?
On the User Management page you will be able to see the list of all users that have accounts created as well as the invited users.
You can view this page on
List View (Default View)
Grouped by Role and
Groped by Company Domain
You can bulk import users by clicking on the 3 dots icon and selecting “Bulk import from .xlsx”
Click in on the “Filters” button you will be able to filter by Status of the user account (Active, Inactive and Pending), Type of the user account (Guest or Internal), user Launchpad Role (Restricted Access or Admin).
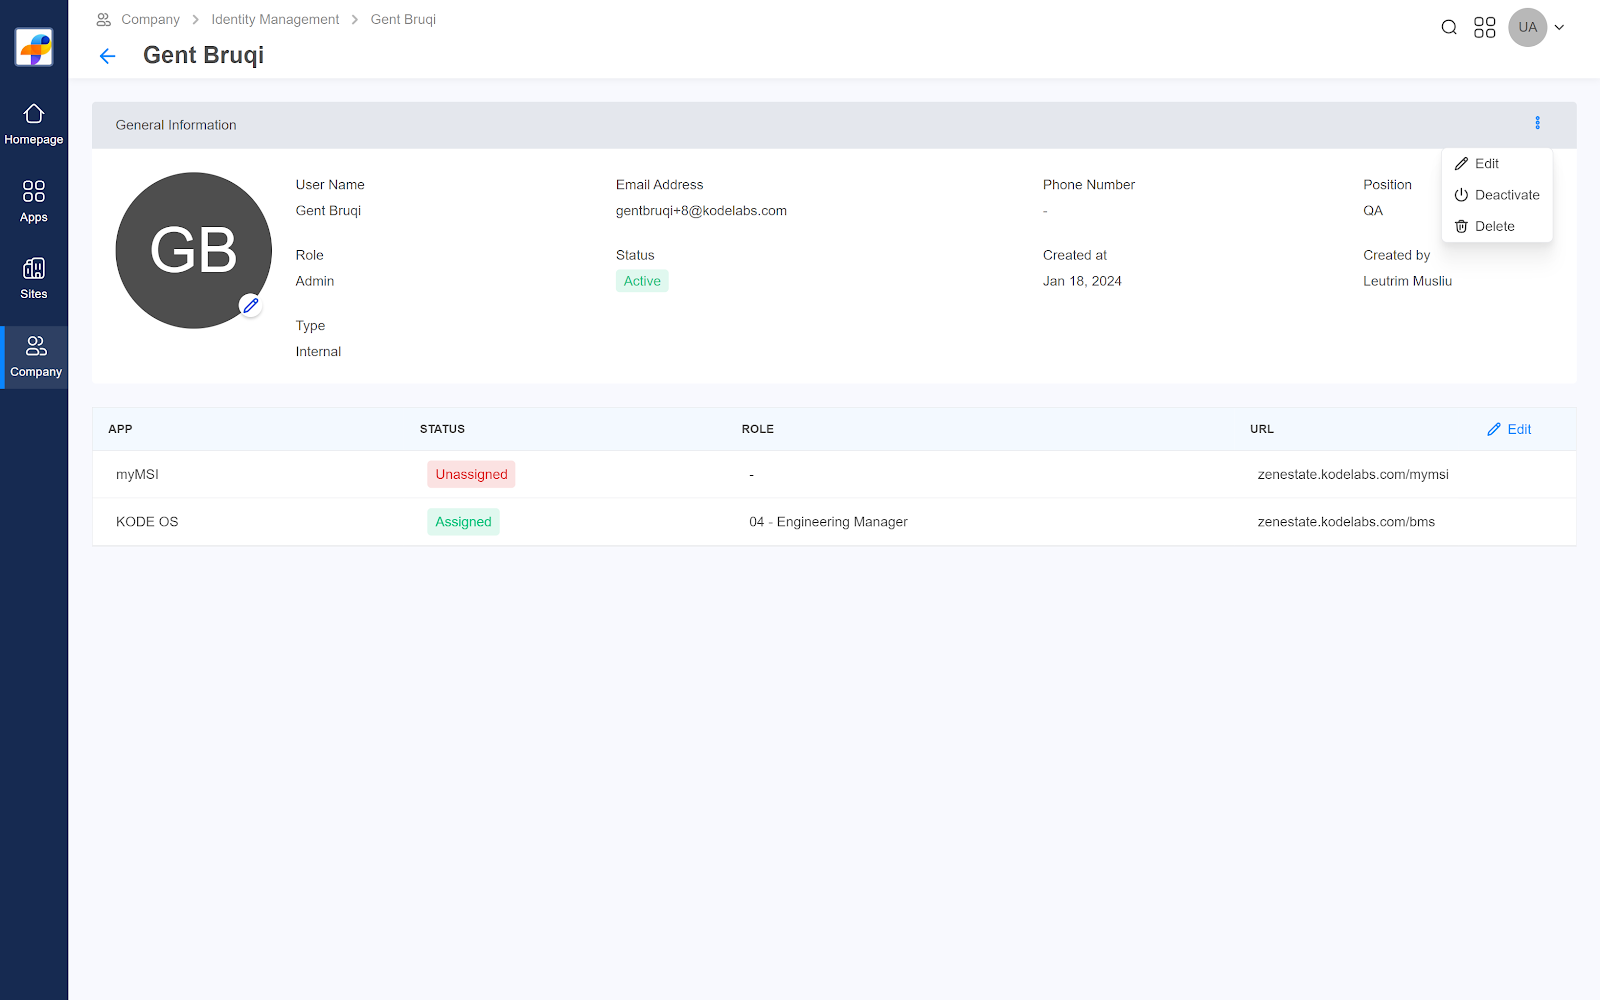
Selecting a user you will be able to Edit its general information as well Deactivate/Activate or Delete the user.
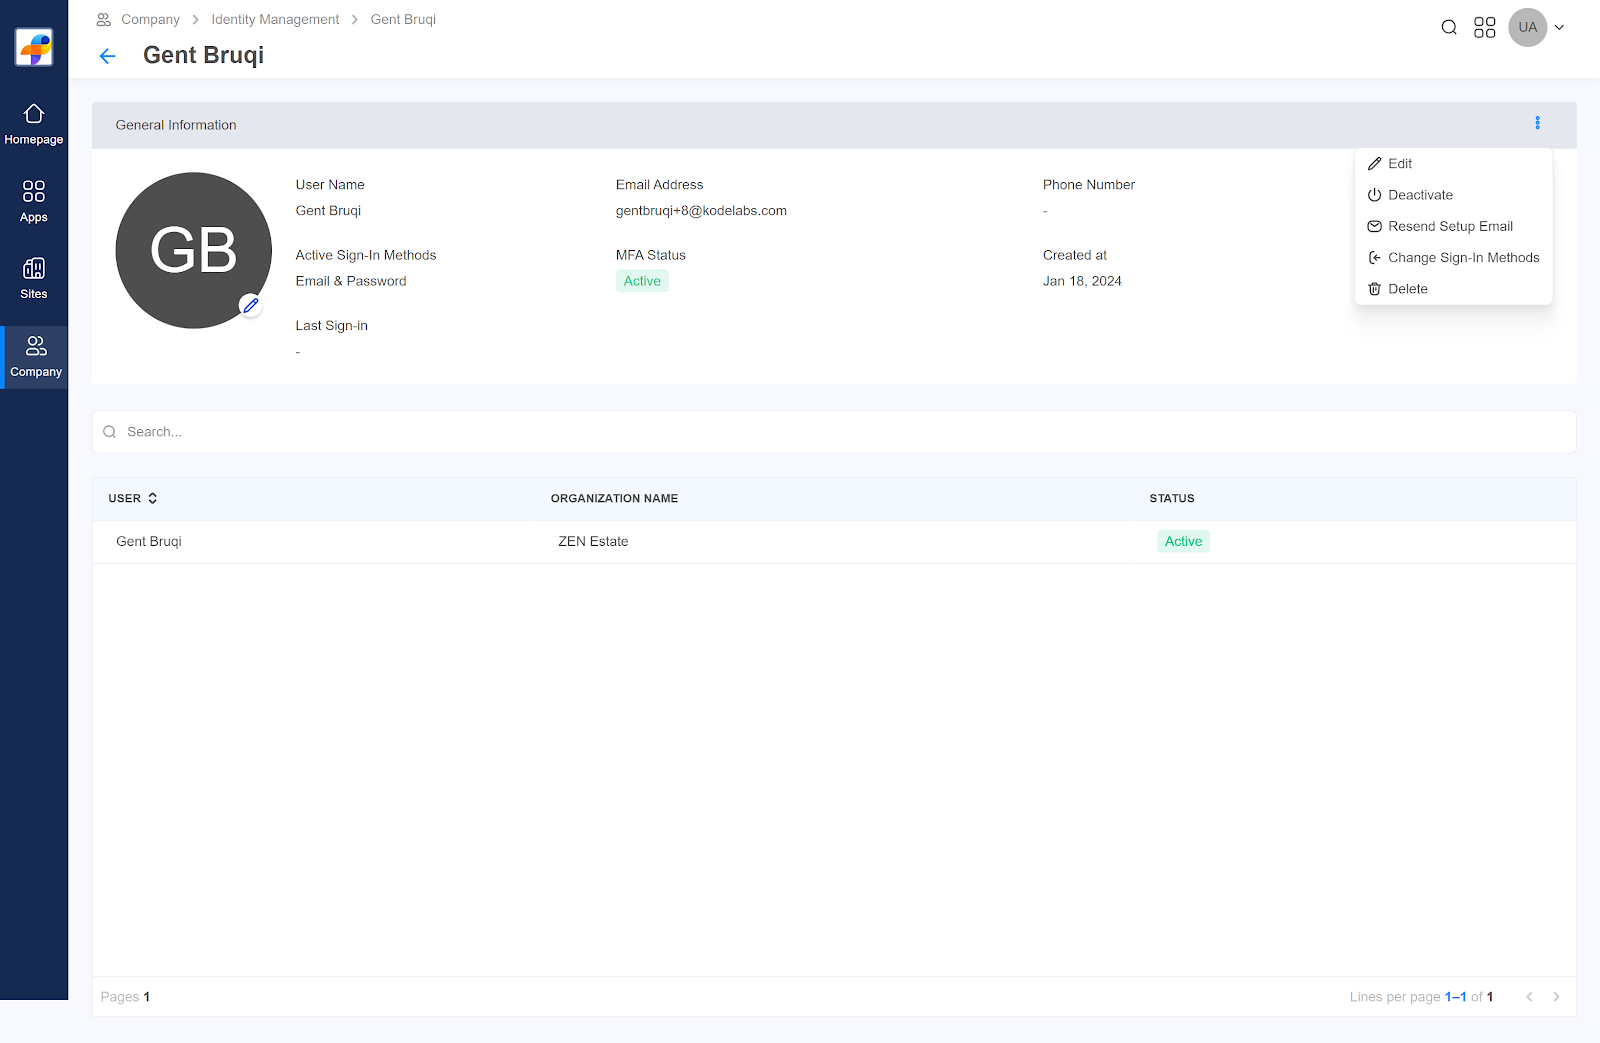
On the Account Management page you will see all users that have an account created in your organization. From this page you will be able to see and edit more high level settings.
If you choose a user from this page you will be provided with the access to Edit user general information, Activate/Deactivate the account, Resend Setup Email, Change Sign-in Methods for the user, and Delete the account.
FAQ for Multi-Factor Authentication (MFA) Use Cases
1. Is MFA Enforced by Default for All Users?
No, by default, MFA is not enforced for users, and they are not prompted to set up MFA during login.
2. Is MFA Required for Users Logging in with Email & Password?
When specifically configured, only users logging in with Email & Password will be prompted to set up and complete MFA.
3. Can Admins Configure Different MFA Options?
Yes, admins can configure various MFA options, such as requiring MFA every login, remembering for 7 or 30 days on known devices. Users will see these options during setup.
4. Does the System Use Device Fingerprinting for MFA Validation?
Yes, device fingerprints are generated on the first login, saved, and associated with user accounts for MFA validation.
5. Will Changing Browsers Trigger MFA?
Yes, changing the browser will prompt Multi-factor Authentication, regardless of the selected 7-day or 30-day frequency.
6. Does Removing Cookies Trigger MFA?
Removing cookies will trigger MFA, independent of the chosen frequency setting.
7. Will Users Be Prompted for MFA Setup on Next Login After MFA Requirements Are Added?
Yes, existing users will be prompted to set up MFA on their next login if MFA requirements are added.
8. How Does MFA Work for Multiple Users in One Browser?
When multiple users log in from one browser, each user maintains their own MFA validation settings, unaffected by other users’ settings, even in mixed modes of browsing.
9. Can Users Configure MFA for Their Accounts?
Yes, users can configure MFA settings for their accounts, which are validated during login.
10. What Happens When an Admin Configures MFA for an Organization?
Users' MFA configurations will be updated according to the organization settings. Users will default to the minimum available option if a previously selected option is removed.
11. What Happens If MFA Valid Remember Time Is Greater Than Session Timeout?
Users will be prompted for MFA verification after the session timeout, even if they have a valid MFA memory time.
12. What Happens If MFA Valid Remember Time Is Less Than Session Timeout?
Users will be prompted for MFA verification before the session timeout occurs.
13. What If MFA Valid Remember Time Is Equal to Session Timeout?
Users will be prompted for MFA verification exactly at the session timeout.
14. What Happens If MFA Valid Remember Time Is Set to 0?
Users will be prompted for MFA verification every time they log in.
15. Can Admins Reset MFA for a User?
Yes, an admin can reset MFA for a user, requiring them to set up MFA again on the next login.
16. Is It Possible to Disable MFA for a User?
Yes, an admin can disable MFA for a user, allowing new users to log in without MFA. Existing users will still be prompted for 2FA.
17. Does MFA Work on Various Mobile Devices and Browsers?
MFA should work seamlessly across different mobile devices and browsers.
Related Articles
Configure permissions for User Management in KODE OS
KODE OS handles user management based on the conditions we set for each role in Launchpad. Follow these steps to configure who can add what user to KODE OS: Log in to Launchpad Go to Apps module and select KODE OS app Go to Roles tab > select the ...Assign a user to myMSI
You have the ability to assign the user to myMSI while creating a new user or after. To assign a user to myMSI after you have created it, follow the below steps: Go to Launchpad. From the left main navigation bar select “Company”. Go to the “Identity ...Assign a user to KODE OS
Assigning a User to KODE OS You have the ability to assign the user to KODE OS while creating a new user or after. To assign a user to KODE OS after you have created it, follow the below steps: Go to Launchpad. From the left main navigation bar ...Map user roles
KODE Labs allows client user permissions to automatically be passed through from identity provider platforms as part of the integration. Before you add new role mappings, you must add the “roles” attributes in the “Attribute Mappings” section in your ...Navigate Launchpad as a user
Introduction Welcome to the KODE OS Launchpad! After reading this short user guide, you will be able to manage your users, products, and access for anything related to KODE OS. The Launchpad will enable you to ensure that all of your users can have a ...