Contractors & Manufacturers
Contractors Menu
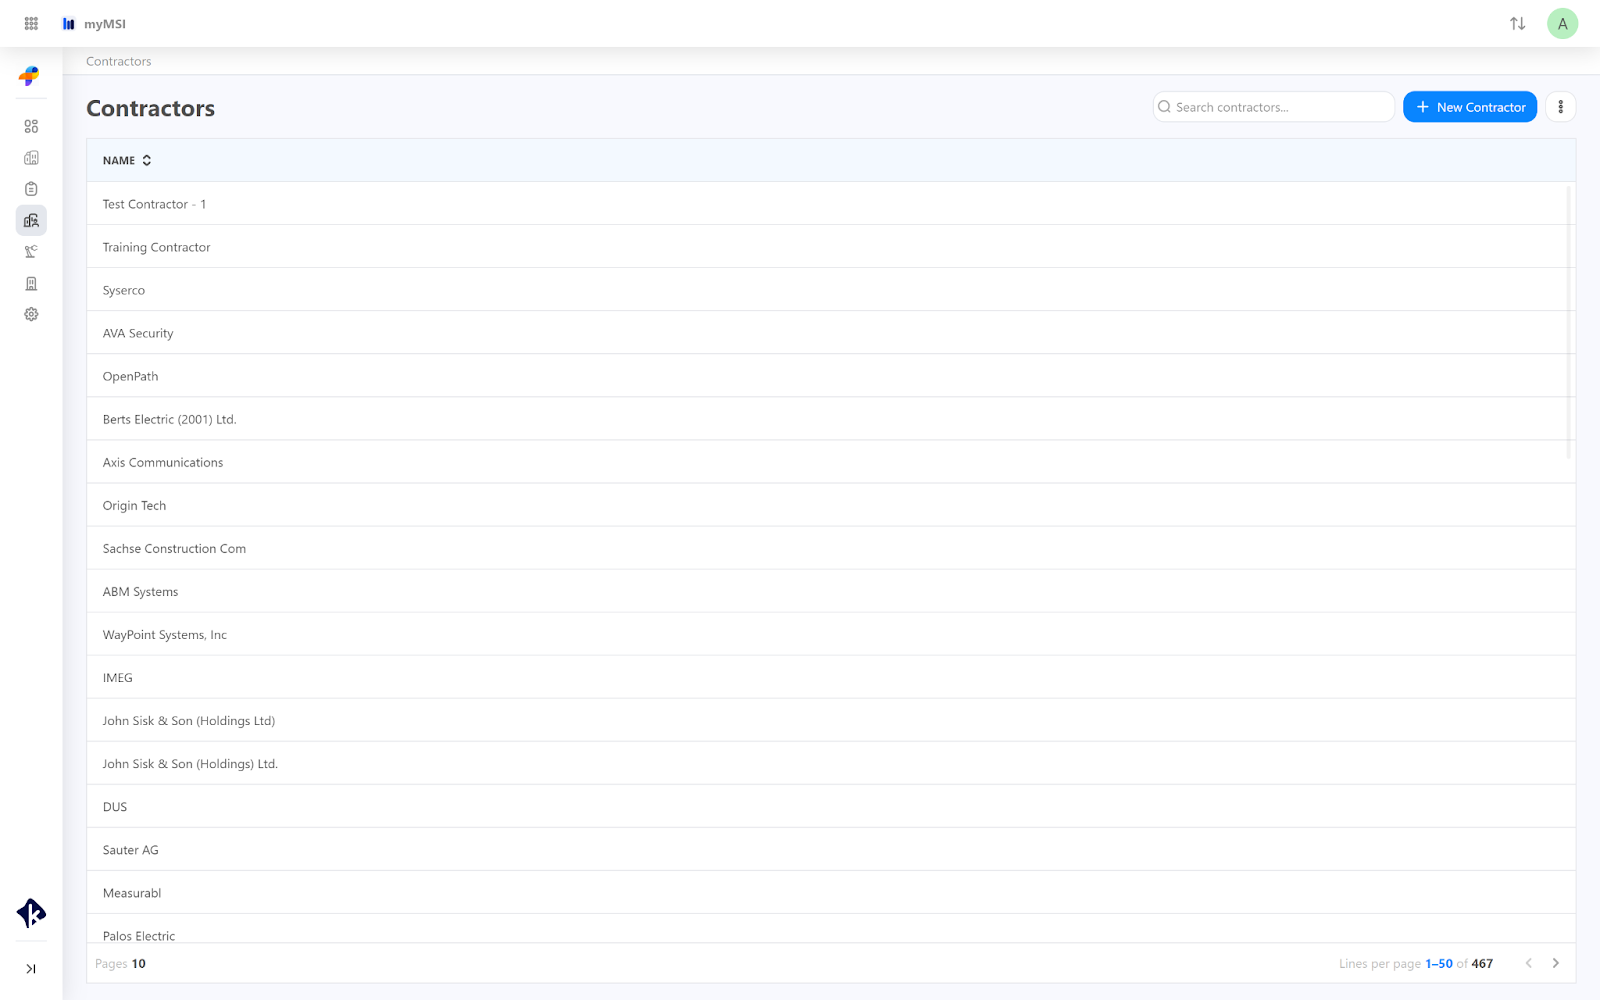
At the Contractors menu you will see a list of all existing contractors. Here you can add, export and import Contractors.
Add New Contractor
Click “+ New Contractor” in the top right-hand corner of your screen.
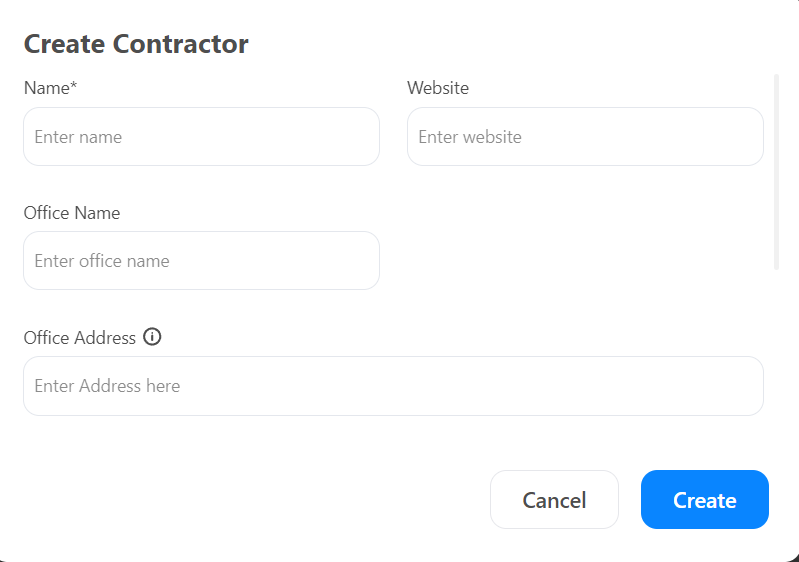
Fill in the Required Information:
Contractor’s Name
Office Name
Office Address
Website
Click Save. Your created contractor will appear on the list.
Exporting Contractors
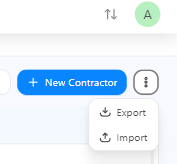
Click Export/Import in the top right corner of your screen.
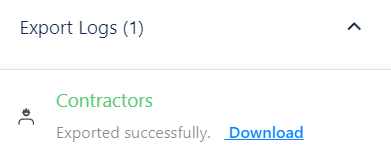
A popup will appear at the bottom right of your screen, informing you that your list has been exported successfully.
Click Download, and the list of your contractors will be saved to your default download location.
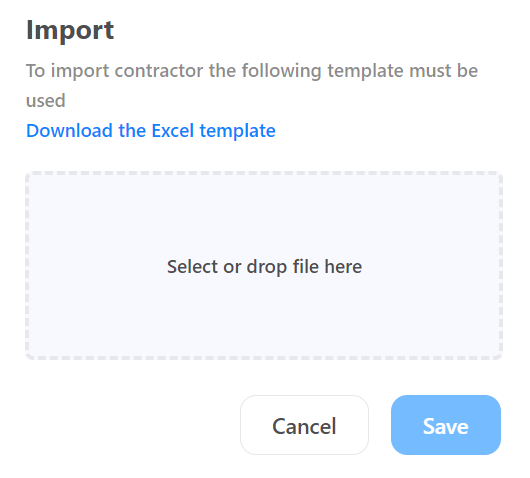
Importing Contractors
To import a contractor, use the specified template, which can be downloaded from the popup page that appears after clicking Import.
Complete the Excel template
Upload or drag the file to the designated area and click Save
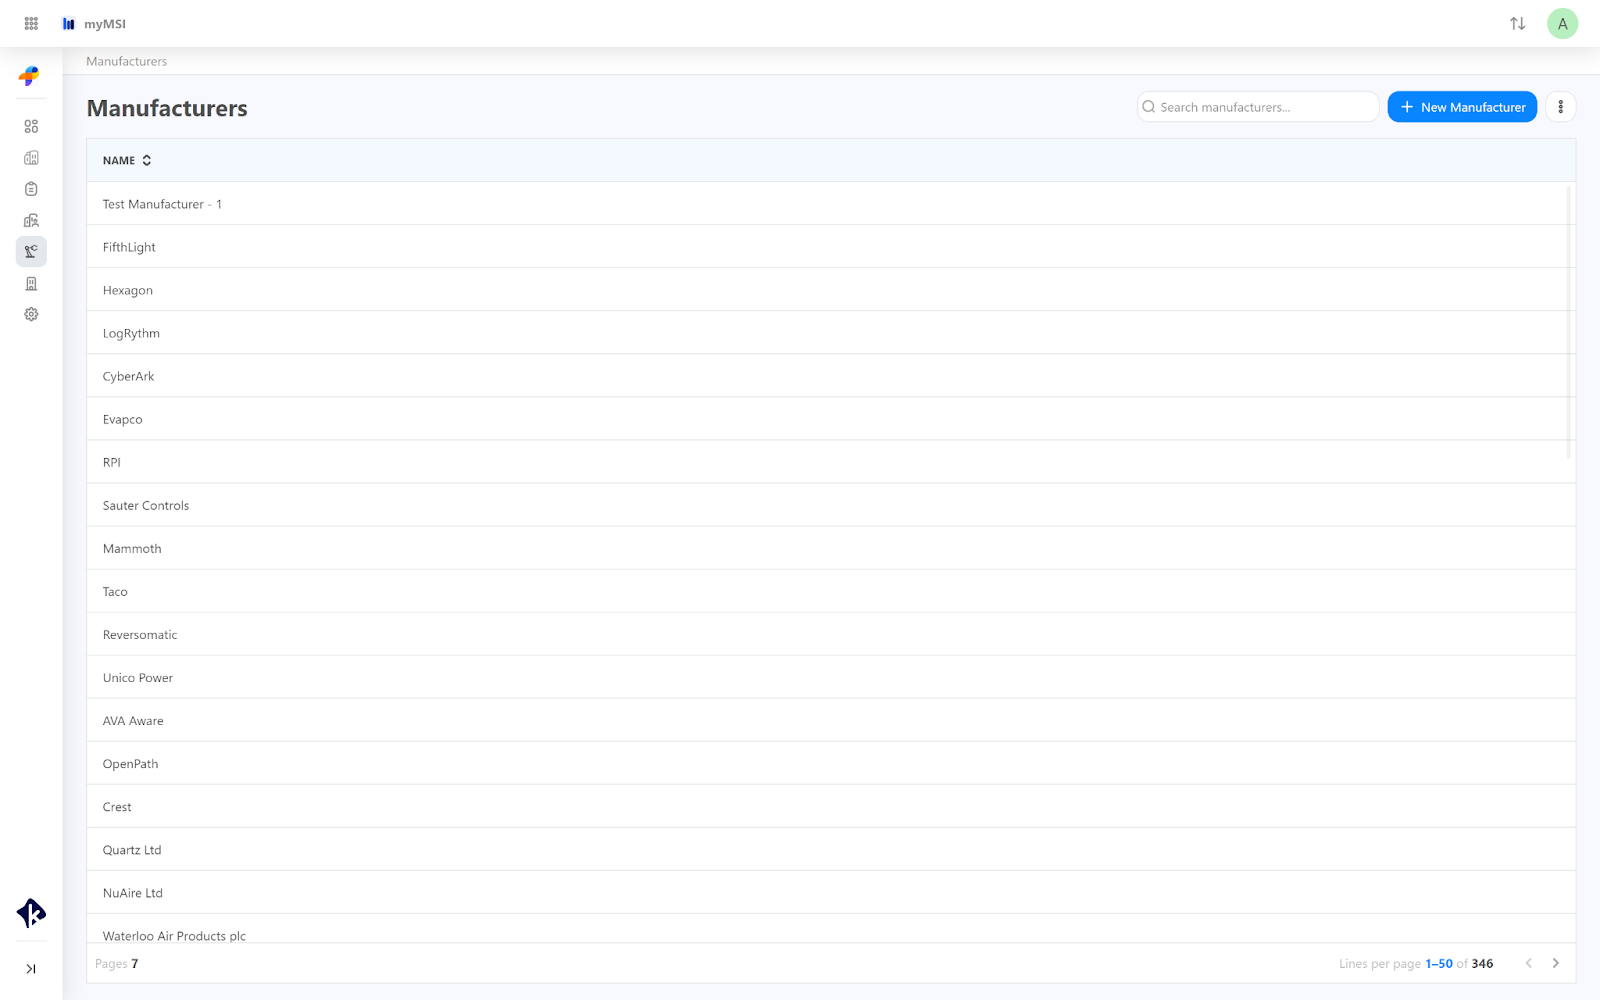
Manufacturers Menu
By navigating to the Manufacturer menu you can view a list of all current manufacturers. The process is identical to that on the Contractors page, including adding, exporting, and importing manufacturers.
Contractors & Manufacturers Specifics
To view specific details about a contractor or manufacturer, navigate to the Contractors or Manufacturers section and select the desired one. Click on any contractor or manufacturer listed, to open their pages.
Contractor Specifics
If you click on any Contractor you will see the left bar section which has four pages: Details, Team, Offices, and Projects.
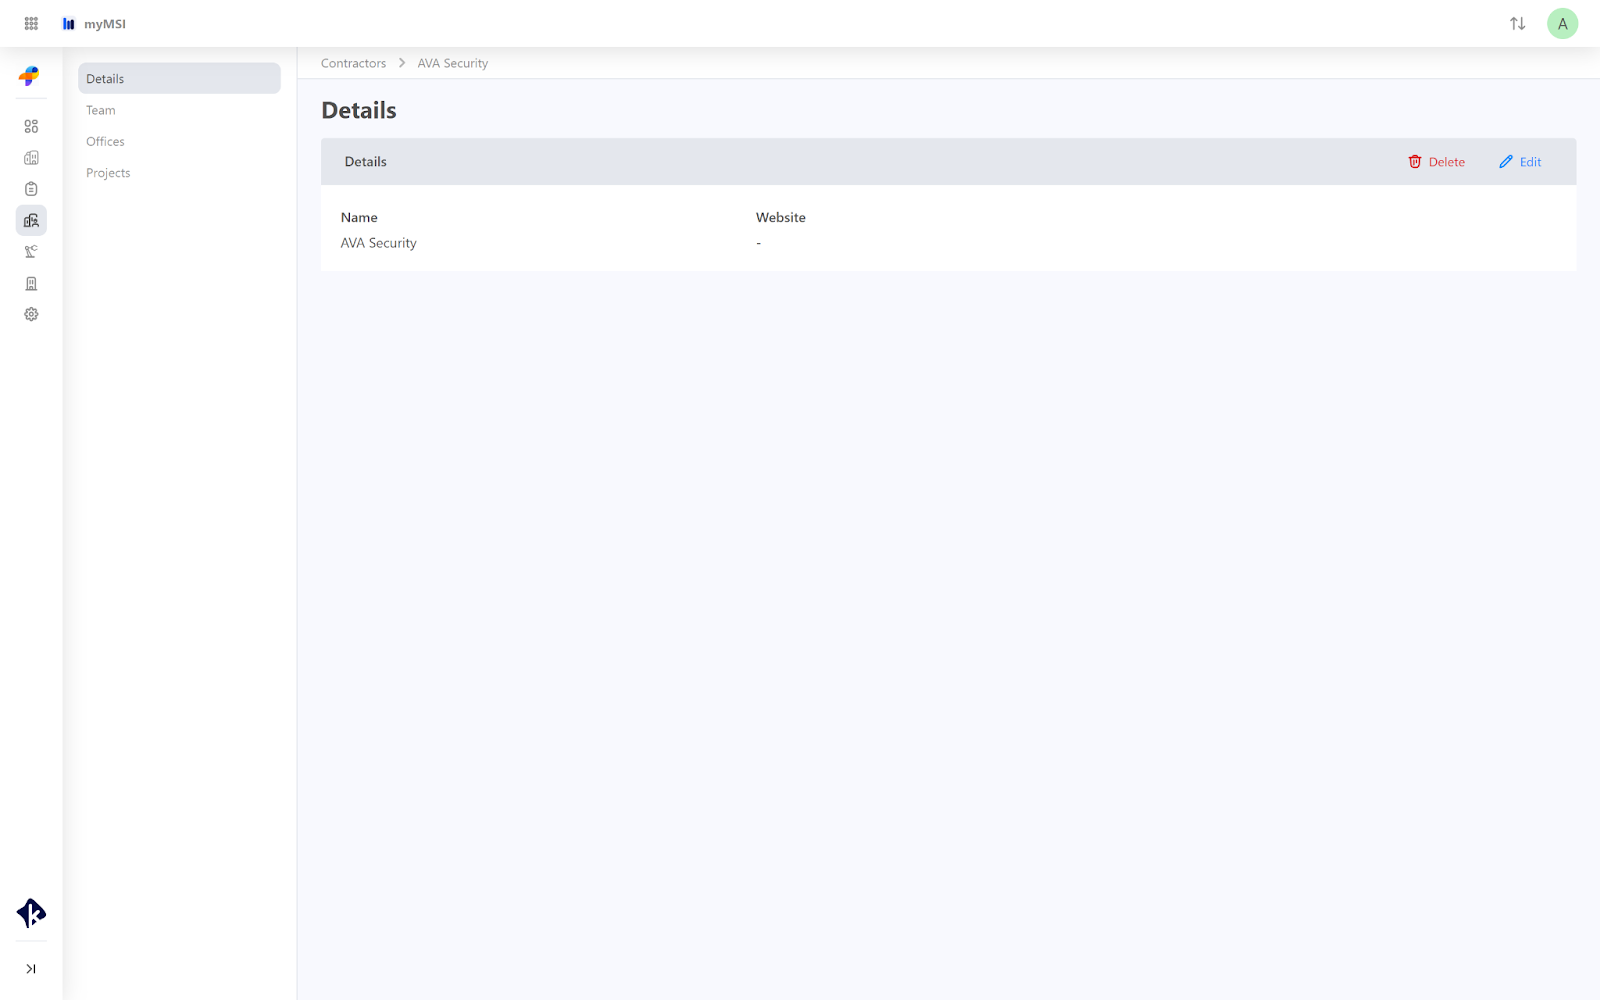
Details Page
The Details page contains the contractor’s key information. Here's what you can do on this page:

To view Contractor Information:
Name
Website
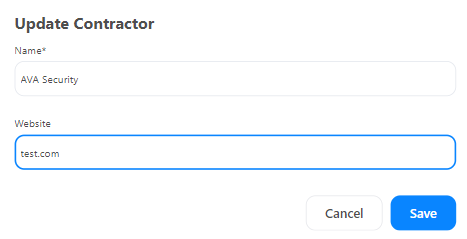
Edit/Delete Contractors Information
To edit Contractor Information:
Click the Edit Pencil Icon
to change the contractor’s Name, Category, and Website.
Click Save to apply your changes.
To Delete a Contractor, select icon and confirm by clicking "Delete."
Team Page
The Team page lists all team members of the contractor. You can manage team members as follows:

Add New Member
Click "Add Member" on the top right corner of your screen and fill in the required information:
First and Last Name
Position
Email
Phone
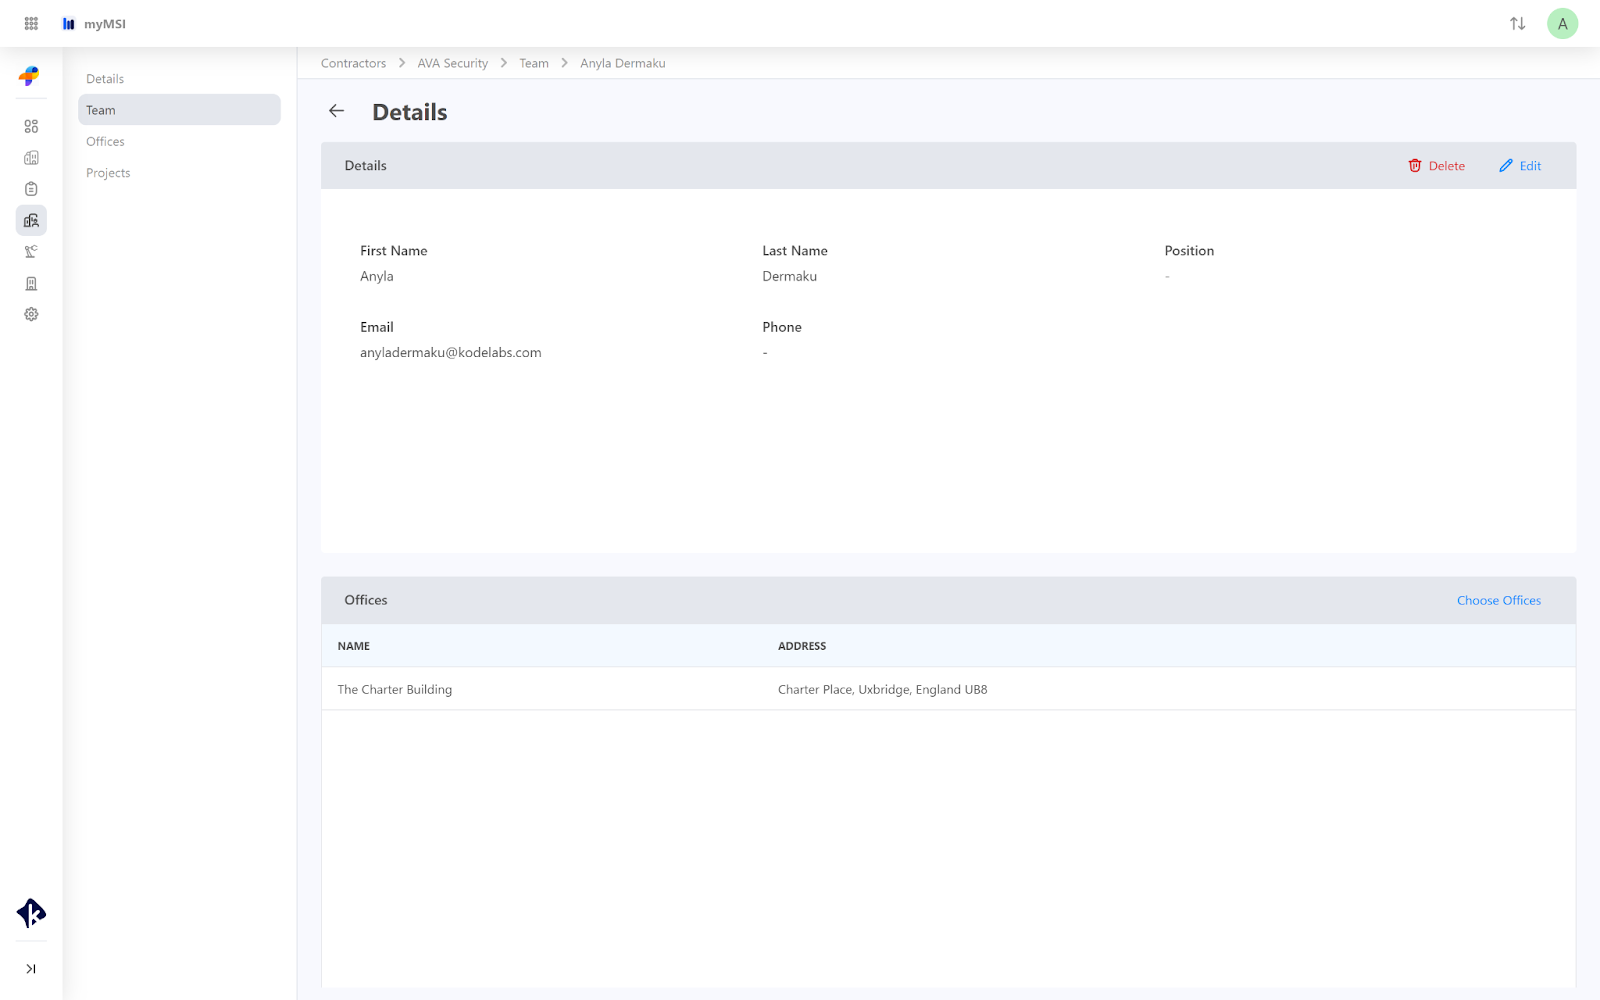
Assign members to their offices
Click on the specific member and the page with the member details will be open, then click"Choose Offices" to assign users to their office.
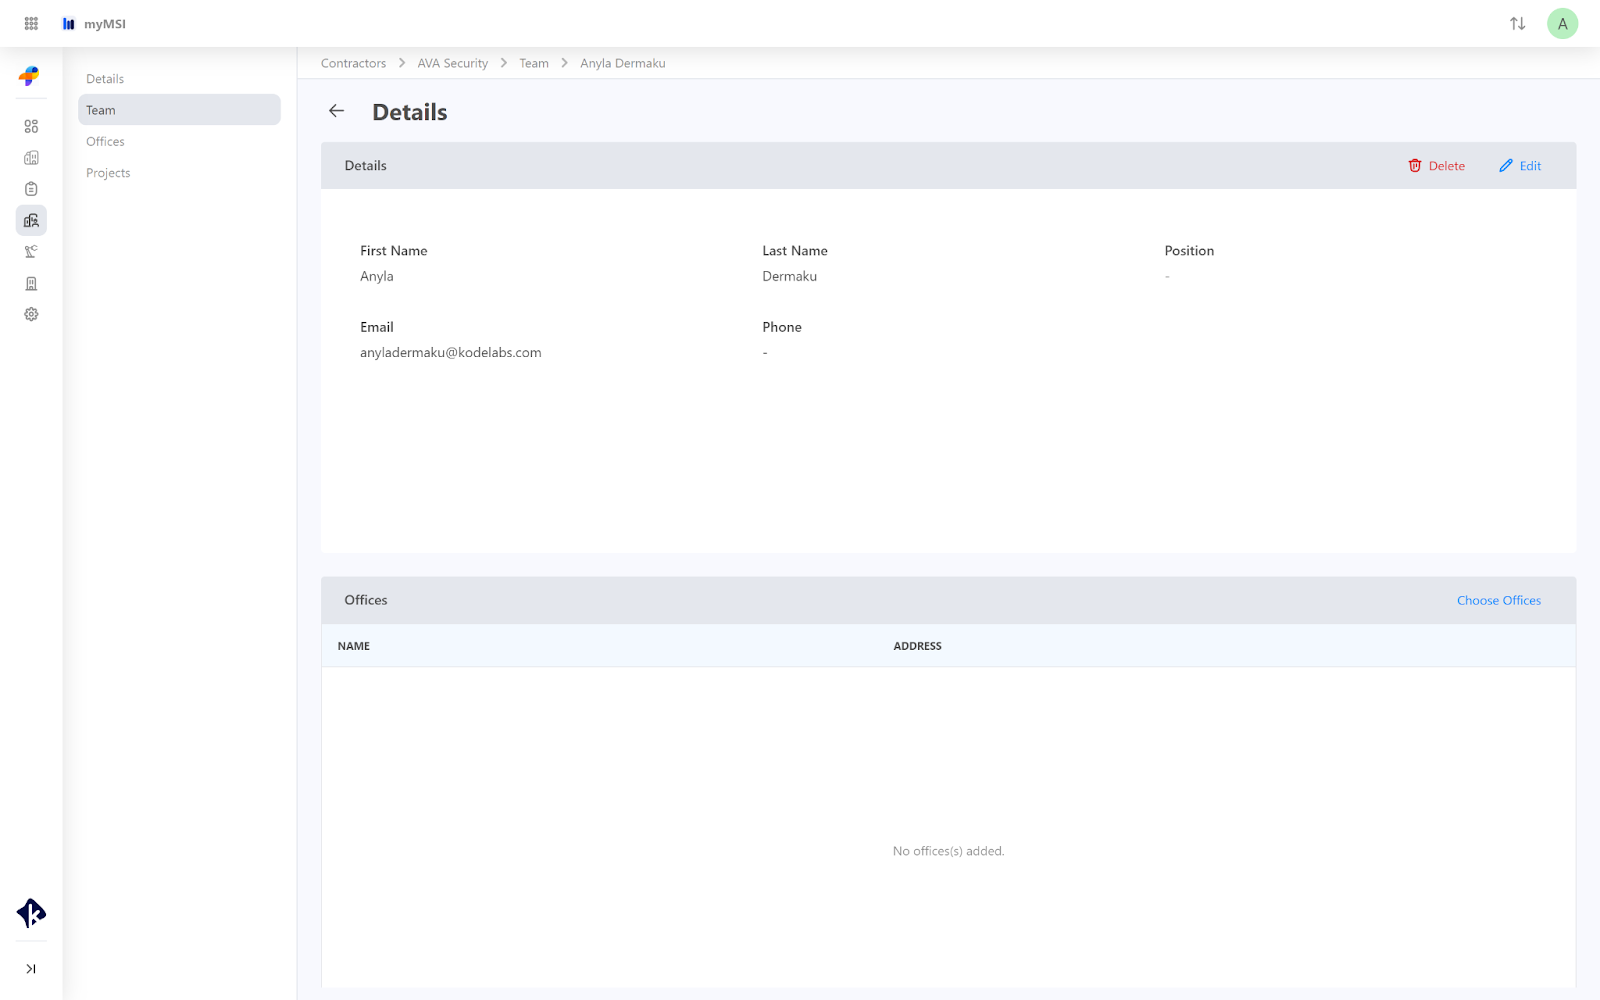
Select the office you wish to use and click Save to complete and finalize the process.
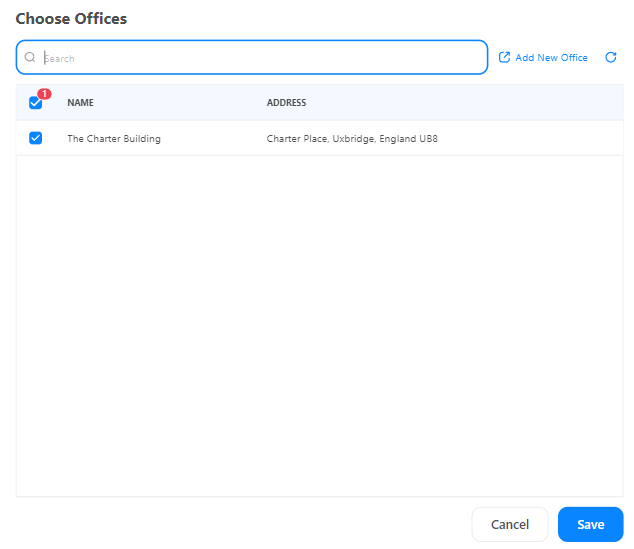
After these steps are completed you will see the office added to the user.
Offices Page
The Offices page in the Contractors section displays all existing offices. You can manage offices as follows:
Modify Office Details:
Click the Edit Pencil Icon at the end of the representative row to make modifications.
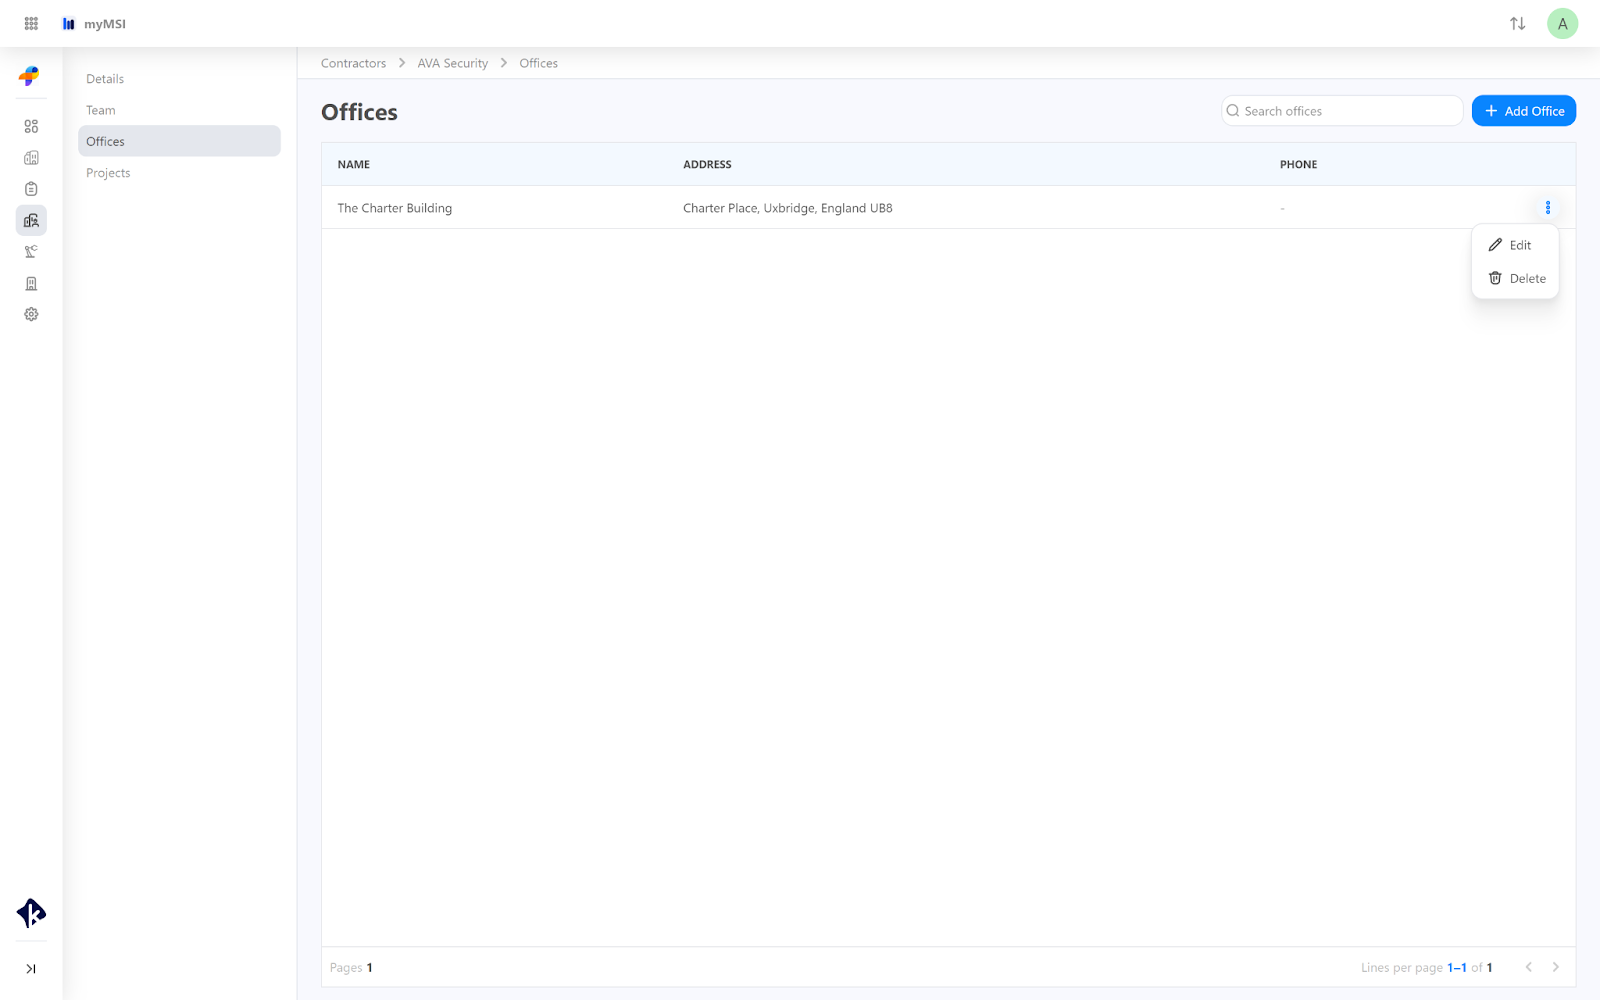
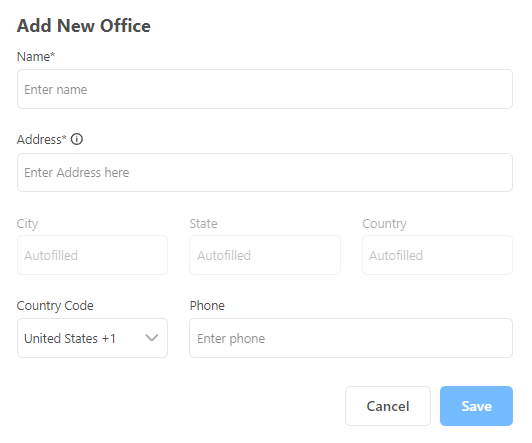
Add New Office:
Go to the Offices Page.
Click "Add Office."
Fill in the required information.
Click Save.
Projects Page
The Projects page in the Contractors section displays all projects that they were assigned on . You can manage projects as follows:
Export Project List:
Click "Export" to download the list of projects.
Filter Projects:
Click "Filters" for a more specific view of the projects list.
By clicking on a specific project it will redirect you to the Project main Page.
Manufacturers Specifics
By navigating to the Manufacturer tab and clicking on one of the Manufacturers you can view specific details about that manufacturer. The Manufacturer specifics section is divided into three pages: Details, Team, and Office. Also here the process is identical to that on the Contractors page, including deleting editing, and adding team members.

Related Articles
Contractors Page
The Contractor tab provides an efficient way to manage contractors for your project. You can assign or remove contractors, as well as add new offices if needed. This feature helps streamline project management by keeping contractor details organized ...Exploring myMSI
Managing projects and organizational tasks requires a structured approach, and myMSI offers a design to simplify complex workflows. This article dives into each component of the myMSI, highlighting their functionalities and benefits for effective ...myMSI Glossary
This glossary provides definitions of common terms and features you'll encounter while using myMSI, designed to streamline your project and organizational management workflows. A | B | C | D | E | F | G | H | I | J | K | L | M | N | O | P | Q | R | S ...Navigating to the Sites Menu
The Sites Menu is where you can overview details on a property basis. It is here that you will be able to view and interact with: Location & Address of the Property Floors and Areas within the building Team members assigned to that site Systems ...Navigating through a myMSI Project
The Projects feature of myMSI allows you to create, manage, monitor, and control your projects. This will include project details, project team, planning, scope, new integrations, contractors, and additional attachments. Accessing Projects To access ...