Navigate Launchpad as a user
Introduction
Welcome to the KODE OS Launchpad! After reading this short user guide, you will be able to manage your users, products, and access for anything related to KODE OS. The Launchpad will enable you to ensure that all of your users can have a peace of mind while using KODE OS as all administrative features will be handled by assigned personnel or by the partner itself.
The Launchpad as an integral component of KODE OS has a seamless and a fast user experience. Any instance or user can be added, changed, or deactivated in a matter of seconds. In addition, for every channel instance the Launchpad is able to be integrated with MyMSI to give you an extensive overview of BAS and BMS implementation in all of your buildings, campuses, and portfolios.
Login and Authentication
In order to login to your instance of the Launchpad, you need to access a link that will be provided to you by KODE Labs, Inc. or one of its channel partners. The link will be in the following format:
yourcompanyname.kodelabs.com
Upon accessing the link, you will be presented with a login screen where you will input your provided username and password. Upon providing the information successfully and selecting Login, you will be taken to the homepage view of the Launchpad.
If you belong to two or more organizations, you will be able to select the desired instance after the initial login. All of your instances will be accessible via the same username and password.
The Launchpad also offers the ability to add an additional layer of security during the login process via Two Factor Authentication (2FA). This can be set-up by navigating to the Manage Account option in the User Admin section. 2FA can be enabled via Text Messaging (SMS) or via a Third Party Authenticator.
Homepage
The homepage view is divided into three sections:
The left-handed sidebar which allows you to navigate to Apps, Sites, Company, and back to the Homepage.
The status section, where you can see various metrics such as the number of users, total integrated square footage, sites, and the available individual apps to which access can be given or revoked.
User Admin section located in the upper right corner, where you can edit your user profile, manage your account, and safely log out.

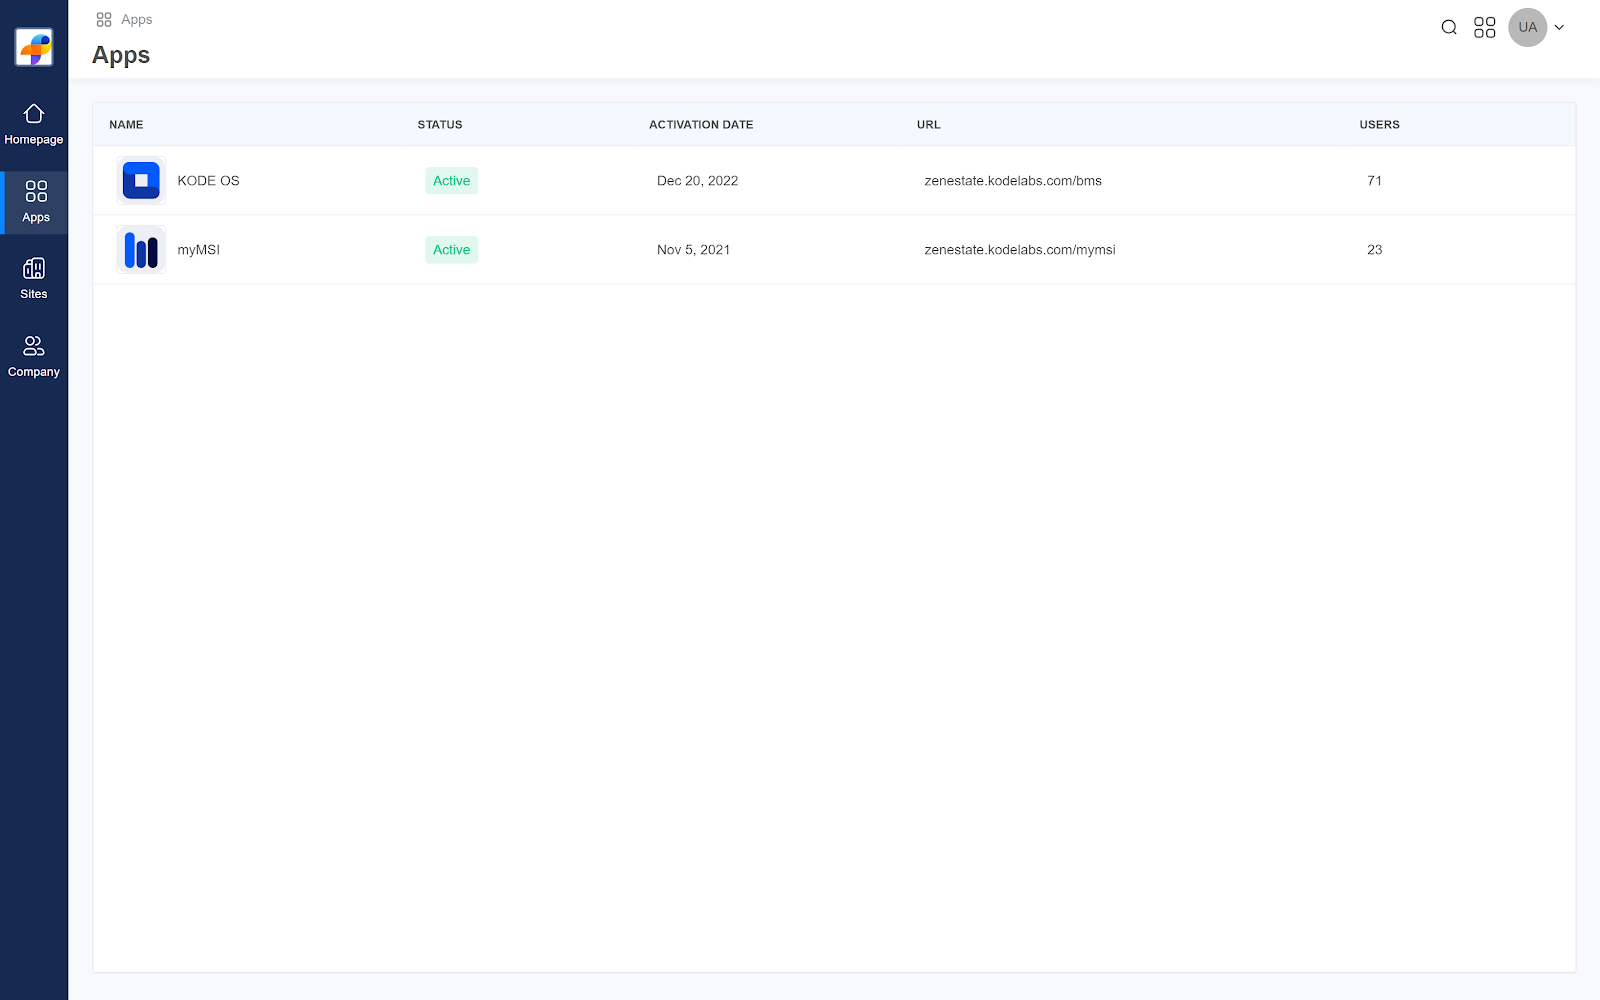
Apps
In the apps sub-menu, you can see all the possible products and/or features that are provided under the KODE OS umbrella along with information on its access status, activation date and number of users currently using each product or feature.
Selecting any of the listed products will take you to an App Details window where you can see further details as well as assign the selected product or feature to additional users.
In addition you can also see allowed roles for each individual app as well as the users who have access to it. From the Users tab you can also assign additional users via the Assign Users button in the upper right hand corner. Please note that any users will have to be previously added via the Users sub-menu.
Sites
In the sites sub-menu you can see all your published and unpublished sites in a list view. In addition, you can also add new sites via the Add Site button on the upper right hand corner. After selecting this option, you will be prompted to fill out the required details related to the site. Once the site has been created the information will be transferred to all the apps that are linked to the client.
Upon creating the site, you will be directed back to the Sites view where you can make your building selection in order to unpublish, delete, or edit the building information.
 Note: Each user can be assigned to their specific site. You can assign users to sites by using the Admin panel on KODE OS, or assign sites on user creation.
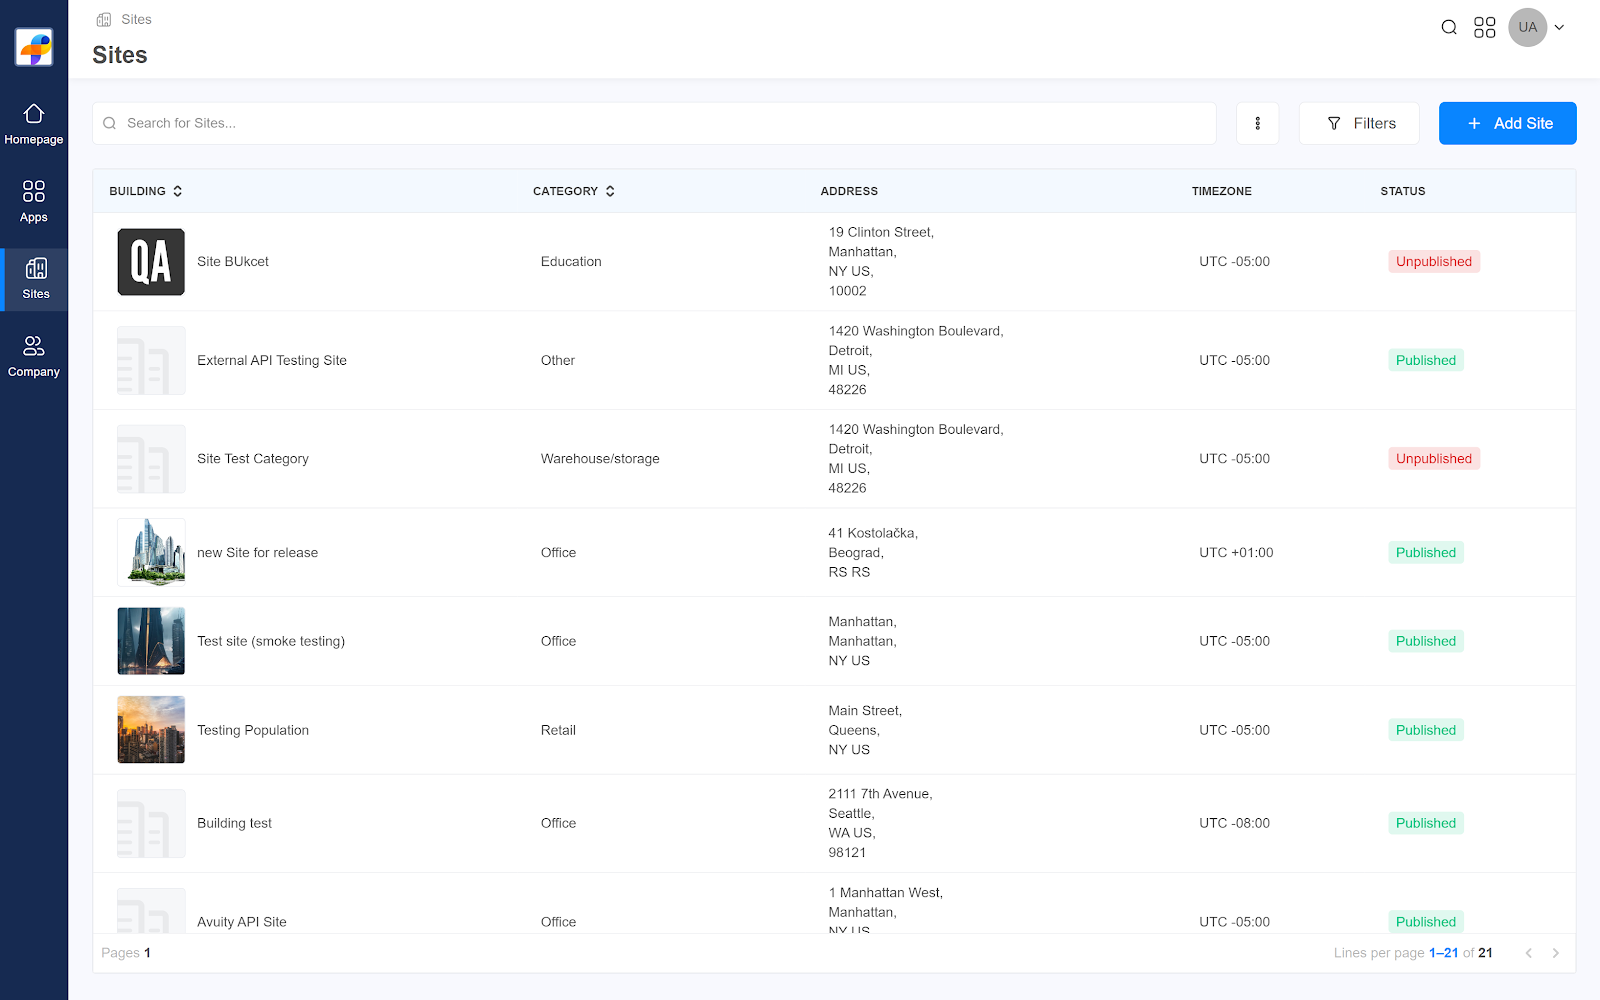
Company
In this section, you can view the general organization details, manage Sing-In Methods, manage authentication & security, from identity management you can assign users who will have access to the Launchpad as well as myMSI and KODE OS, you can also view trusted organization and authentication logs.
In order to add a new user, select Identity Management - then navigate to New User button, from there you can add or invite a new user.
Add User - Add a new user in your organization permanently or temporarily.
Invite User - Invite an external user permanently or temporarily.
You will be prompted to provide all the required user-specific information as well as the desired access level.
Admin Access:
As an Admin, you have the highest level of access and control over Launchpad. Your permissions include:
Launchpad Access: Full access to the Launchpad, enabling you to navigate seamlessly through all features.
Site Management: View and edit client details, ensuring accurate and up-to-date information.
User Management: Full control over user profiles, allowing you to view, add, and modify user information.
SSO Configuration: Access and modify Single Sign-On (SSO) configurations.
Restricted Access:
Restricted Access level provides:
No Launchpad Access: No access to Launchpad.
This role offers the ability for channel partners to add and manage all users in one centralized environment and not give them access to the Launchpad.
In the Assign App section you will be able to assign the desired apps to the user that is being created as well as the site(s).
All user accounts are enabled by default. If there is a need to disable one or more accounts, please go to the ‘Identity Management’ table which is displayed upon entering in the ‘Company’ section and choose the desired user. Upon entering, you will be prompted to the user profile details. For deactivation please use the ‘Deactivate Account’ option located on the dropdown list on the top right hand side of the ‘General Information’ section.
From the same user menu, you can also edit user details as well as delete the selected user.

Related Articles
Navigate to Launchpad Homepage
In order to access Launchpad you will need to access a link that will be provided to you by KODE Labs or one of its channel partners. Once you login to Launchpad you will be directed to the Homepage section from the left main navigation bar. Homepage ...Navigate Launchpad as a Channel Partner
Introduction Welcome to the KODE OS Launchpad! After reading this short user guide, you will be able to manage your clients, products, and access for anything related to KODE OS. The Launchpad will enable you to ensure that all of your clients and ...Assign a user to myMSI
You have the ability to assign the user to myMSI while creating a new user or after. To assign a user to myMSI after you have created it, follow the below steps: Go to Launchpad. From the left main navigation bar select “Company”. Go to the “Identity ...Assign a user to KODE OS
Assigning a User to KODE OS You have the ability to assign the user to KODE OS while creating a new user or after. To assign a user to KODE OS after you have created it, follow the below steps: Go to Launchpad. From the left main navigation bar ...How do I create a New Site
If you wish to add a new site follow these steps: Go to Launchpad. Go to the Sites module which can be found on the left main navigation bar. Here you will see the list of all existing sites and their details (Building Name, Category, Address, Time ...